
How to Oil Your Hair Like a Pro (+ DIY Hair Oil Recipe)
This post contains affiliate links. That means I may earn a small commission if you purchase through my links — at no extra cost to you. Thank you for supporting my little corner of the internet!
If you’ve been wanting softer hair, healthier growth, and a nighttime ritual that feels like a little spa moment at home, hair oiling is the easiest, coziest way to get there. It’s one of my favorite self-care practices because it’s simple, soothing, and it just works!
This guide walks you through everything: how to oil your hair, how long to leave it in, which oils to use, and how to make your own custom blend at home.
Why Hair Oiling Works
Oiling isn’t new — it’s been practiced for generations. And for good reason:
Nourishes dry or damaged ends
Encourages stronger, healthier hair growth
Reduces frizz and breakage
Moisturizes the scalp
Helps with shedding
Adds softness and shine
Doubles as a grounding ritual that calms the nervous system
Think of it as a deep conditioning treatment, but cleaner, simpler, and surprisingly relaxing.
✨ How to Oil Your Hair (Step-by-Step)
1. Brush + Detangle
Start with dry hair. A quick, gentle detangle ensures your oil spreads evenly.
2. Warm the Oil
This is optional, but warming makes a huge difference.
Just place your oil bottle in a cup of hot water for 1–2 minutes… or if I’m being honest, I just microwave mine for roughly 15 seconds and gently swirl after.
Warm oil = better absorption + more relaxation.
3. Start With the Scalp
Using your fingertips or a dropper:
Part your hair in sections
Apply a little oil directly to the scalp
Massage in gentle circles
Move slowly — the massage stimulates blood flow and feels amazing
4. Work Toward the Ends
Rub a small amount between your palms and smooth it down the lengths of your hair.
You don’t need to drench it. Think “lightly glazed,” not “soggy pasta.”
5. Give Yourself a 1–2 Minute Scalp Massage
This is where the magic happens.
Use the pads of your fingers
Small circles
Don’t scratch
Focus on areas where you hold tension (crown, temples, base of skull)
This step alone makes hair oiling worth it.
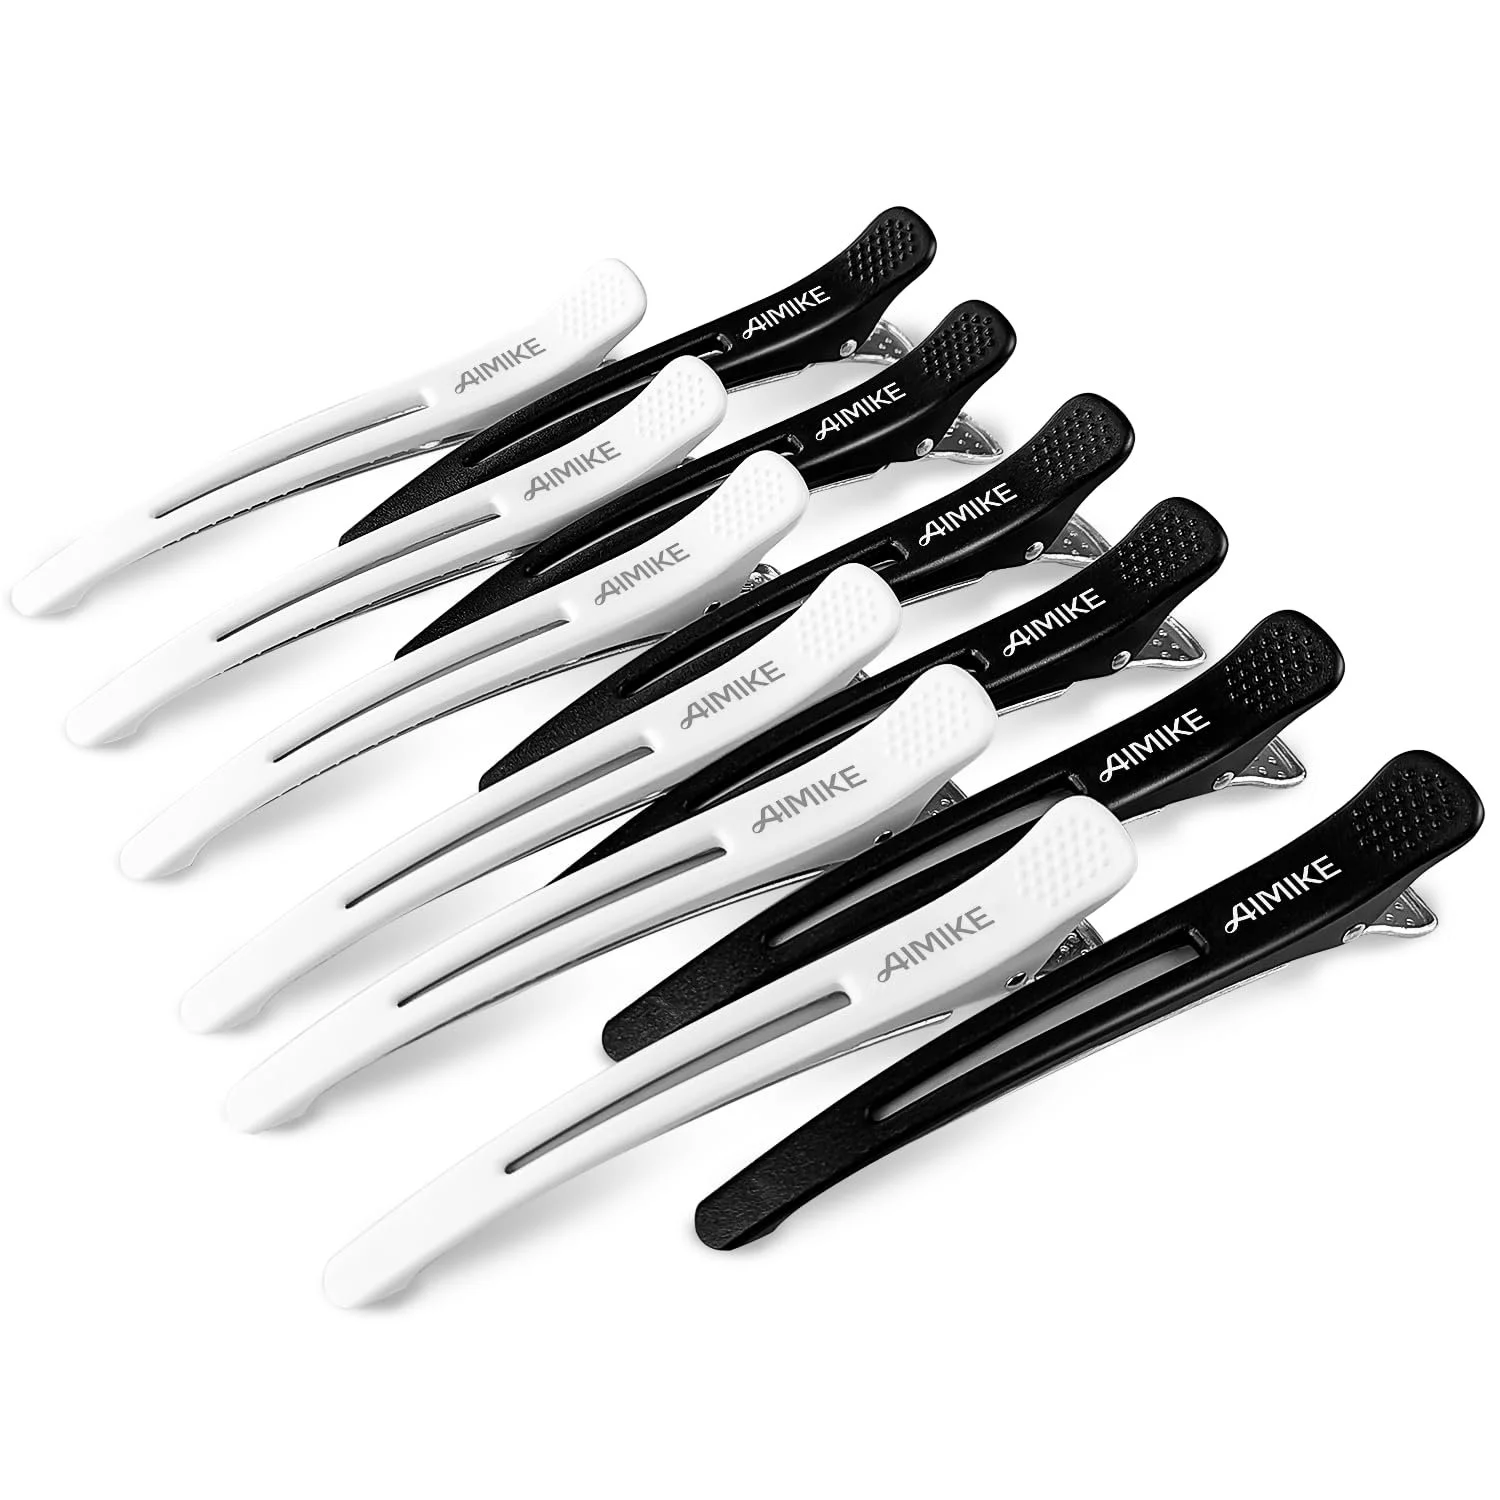
6. Clip It Up + Let It Sit
Let the oil absorb for:
30–60 minutes for a quick treatment
2–3 hours for a deep treatment
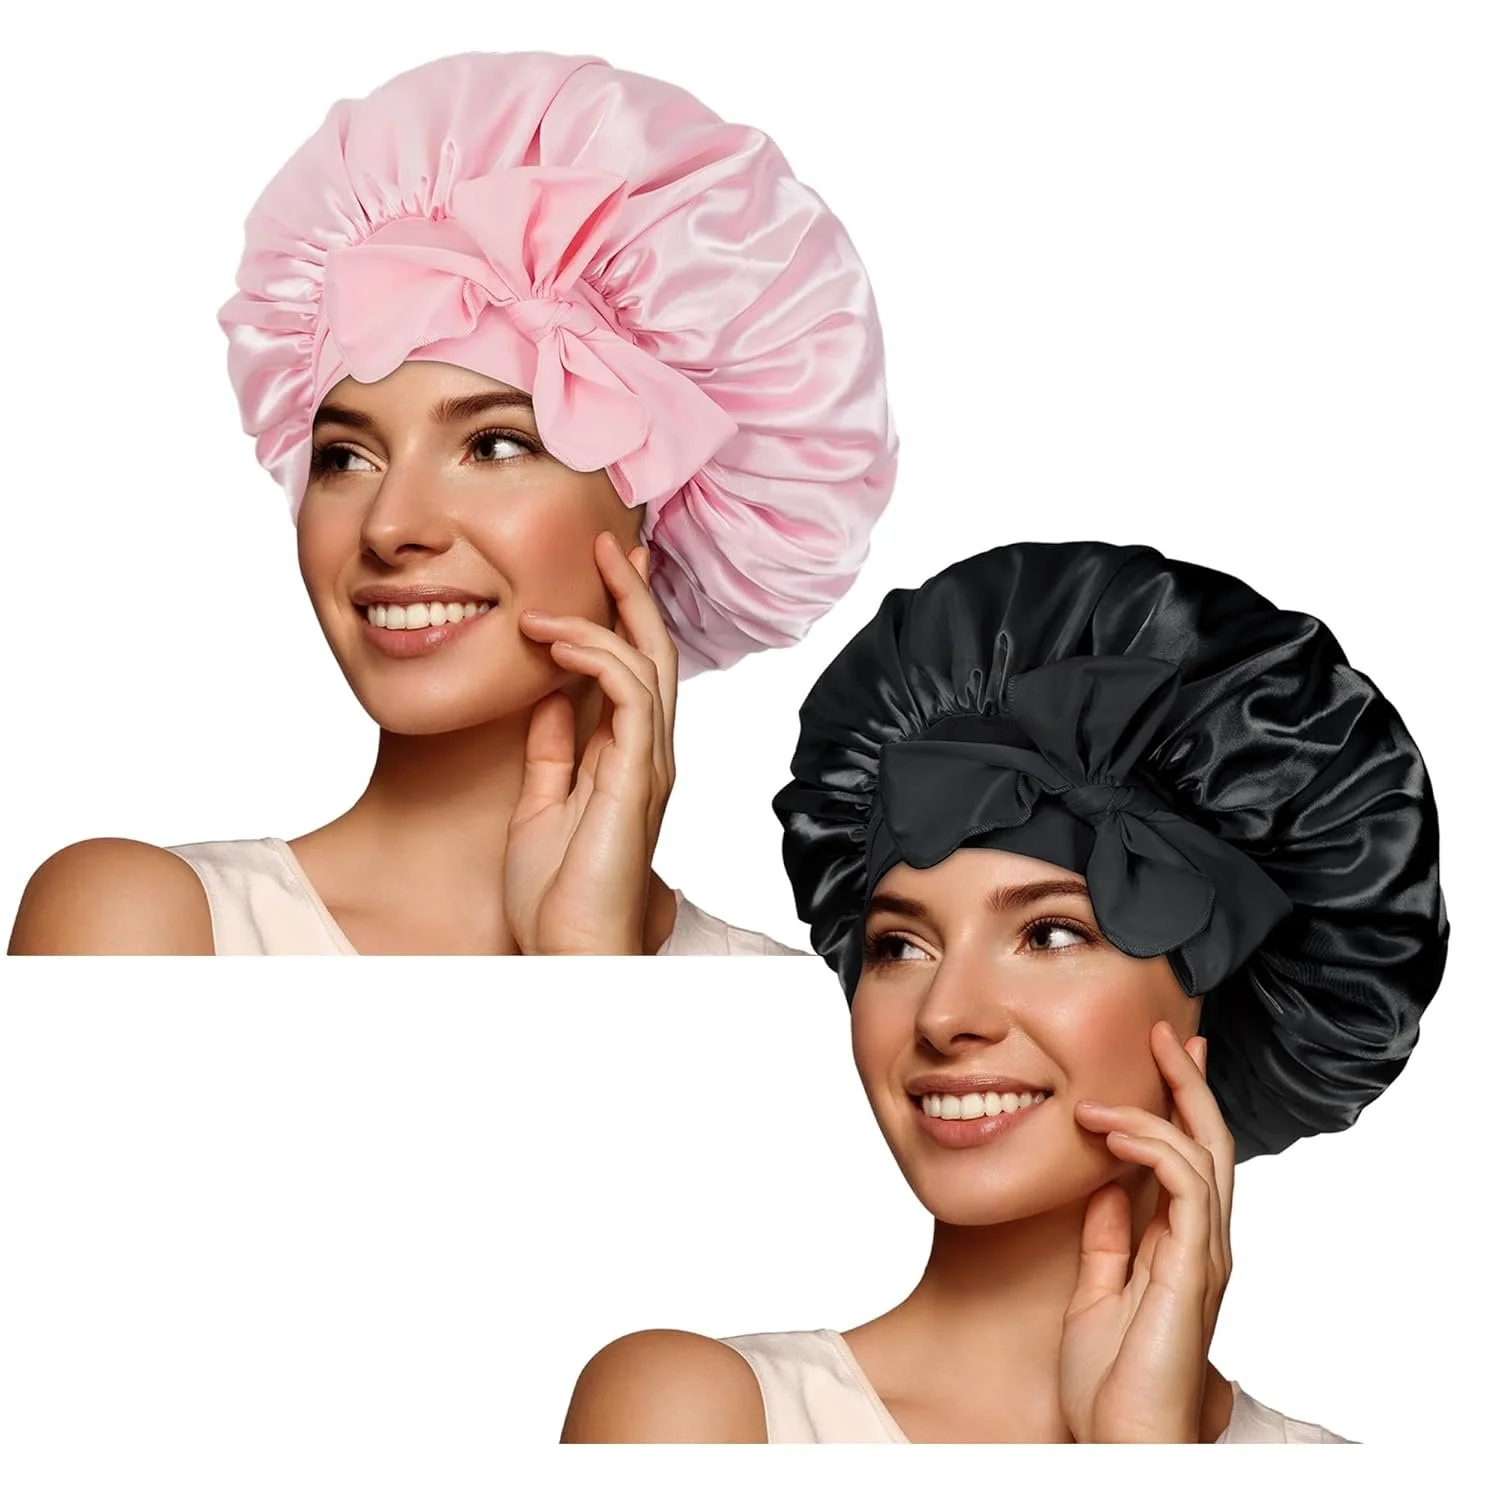
Overnight if your scalp tolerates it (use a bonnet or old pillowcase)
7. Rinse + Shampoo
Oil needs to be gently emulsified, so:
Rinse thoroughly with warm water and massage your scalp to emulsify and break down the oil (plus it feels amazing!)
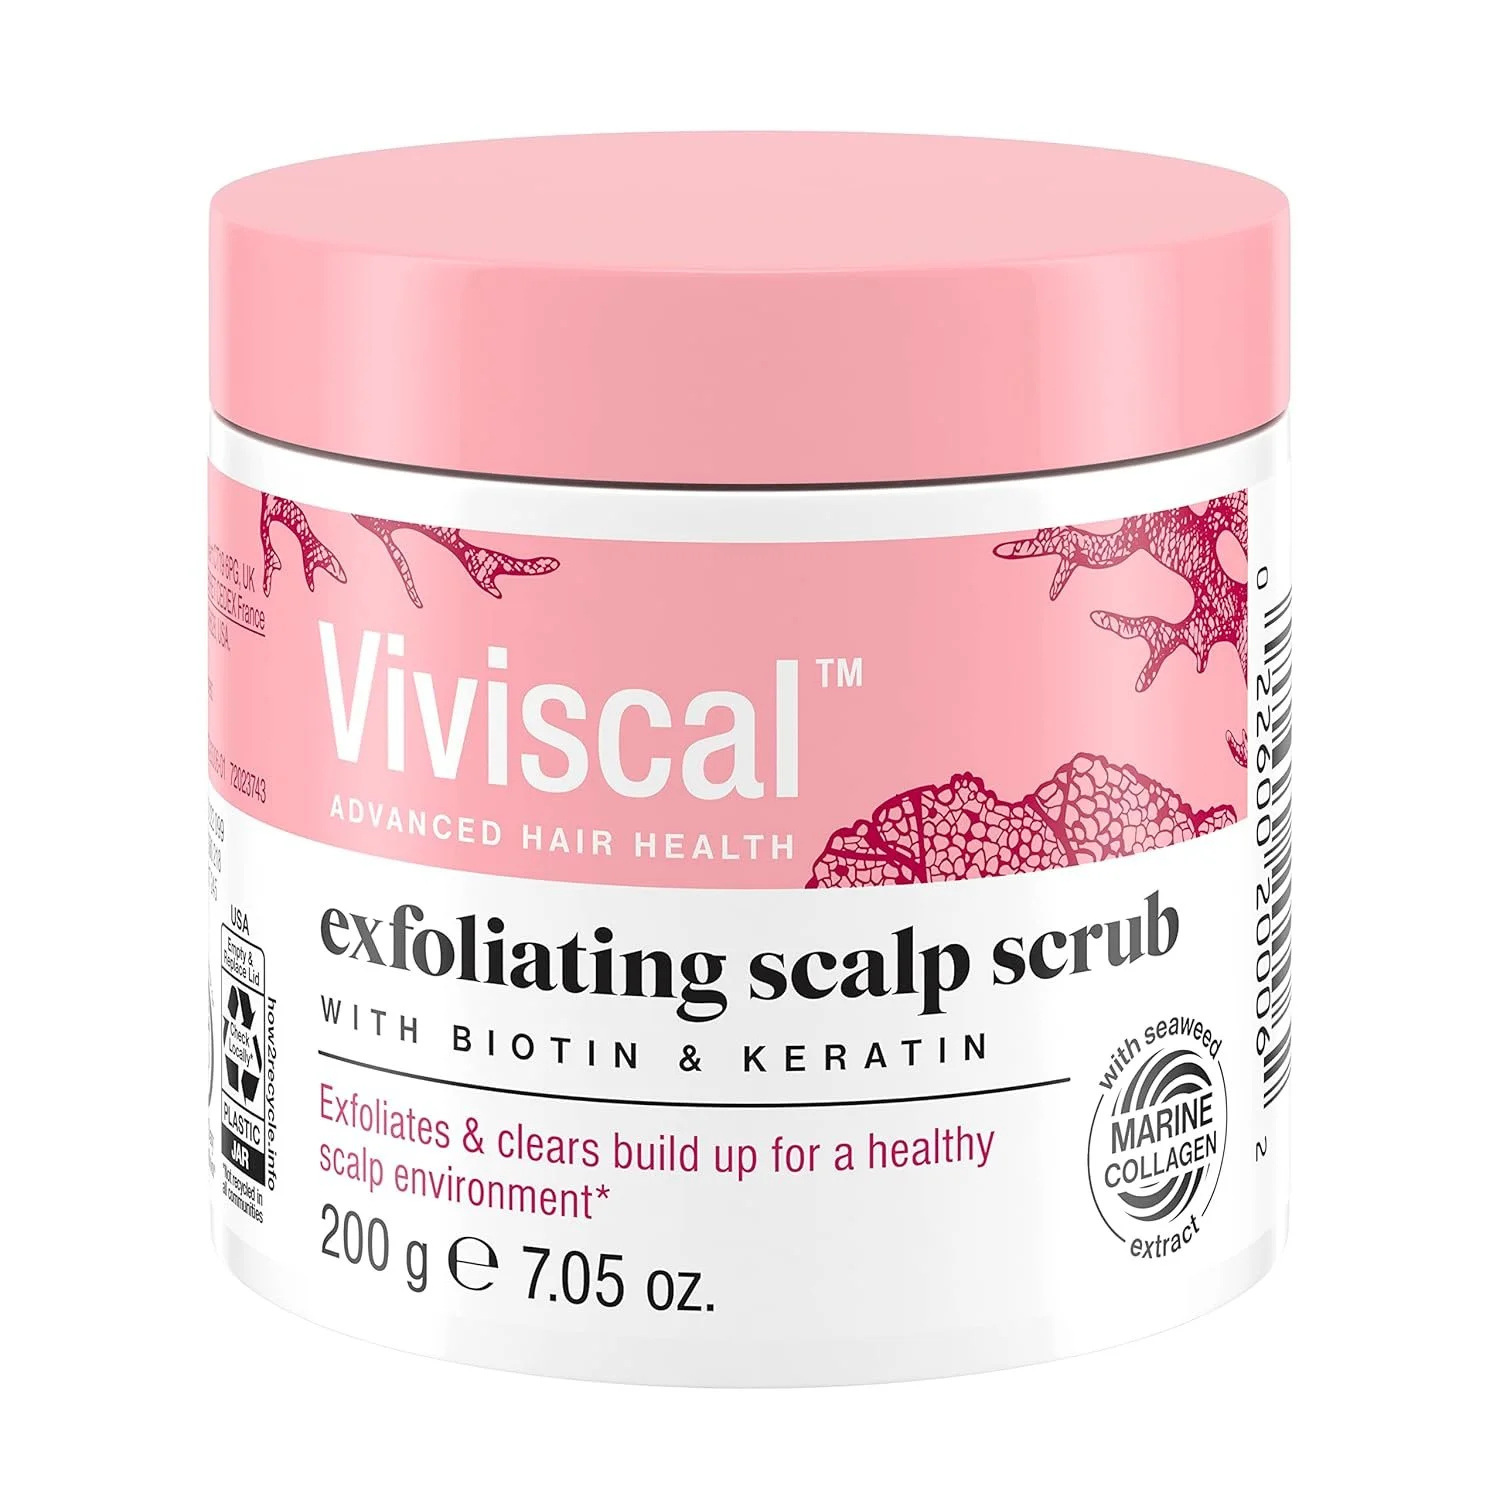
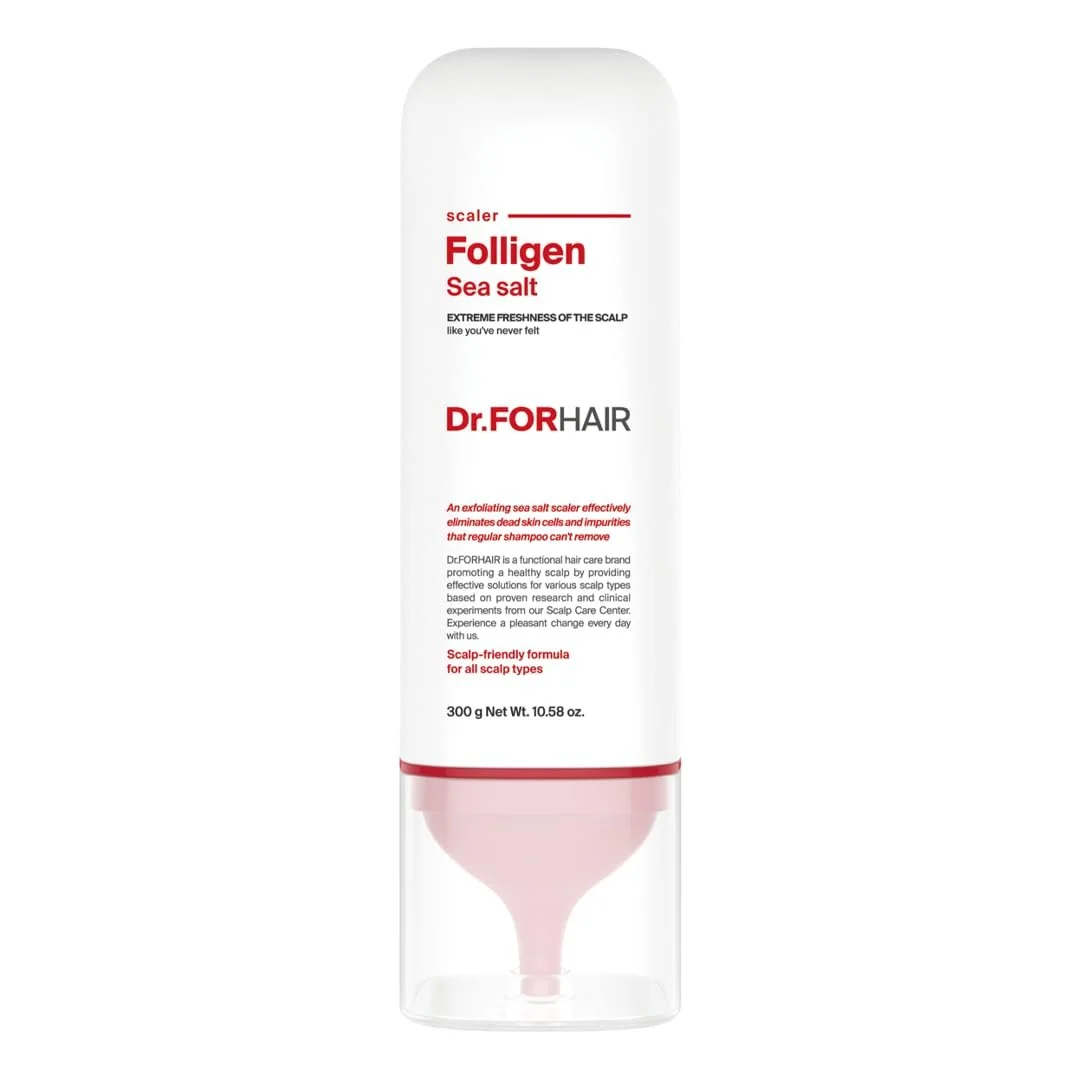
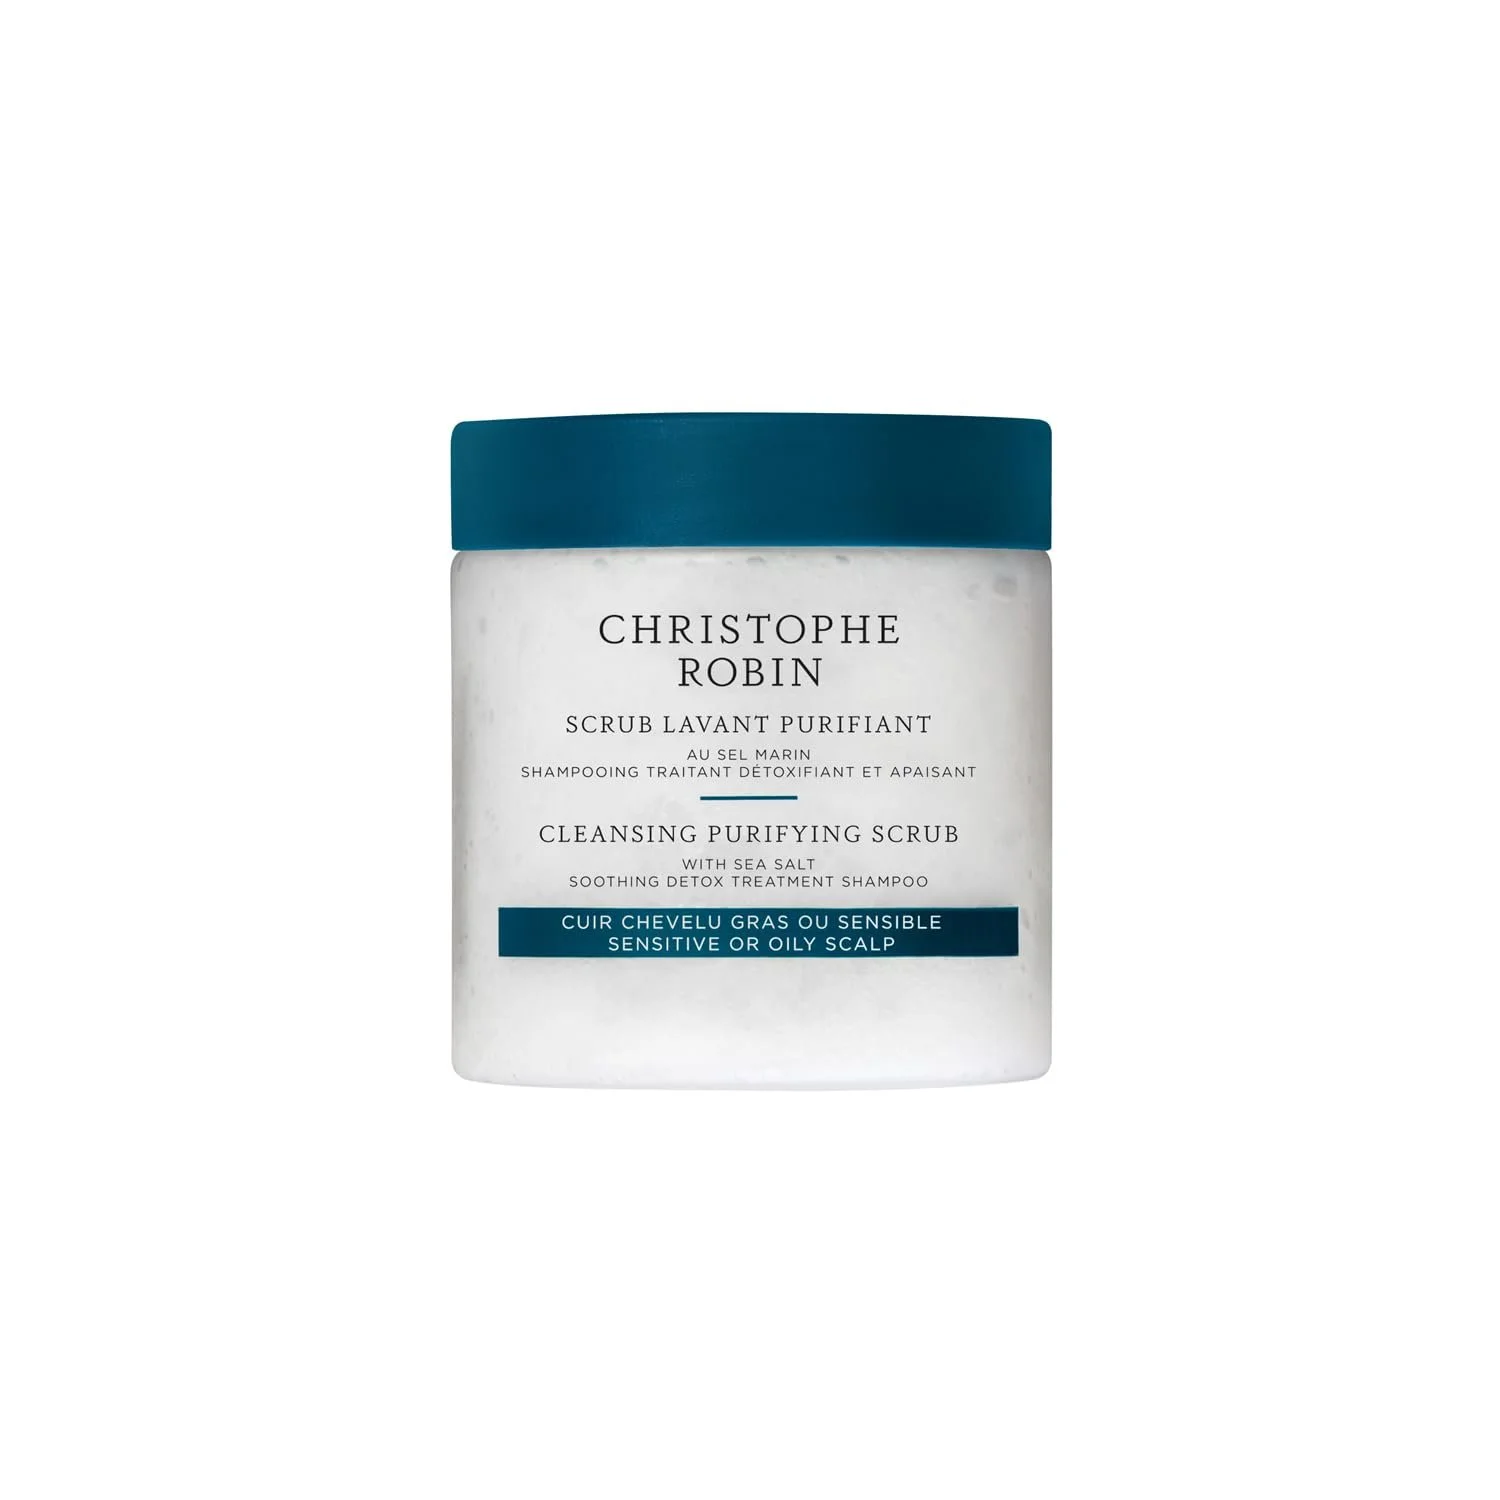
Use your favorite scalp scrub and gently work it through your roots to lift residue and buildup
Rinse the scrub out completely
Apply a small amount of shampoo (it’s going to get sudsy fast!) and cleanse your beautiful locks
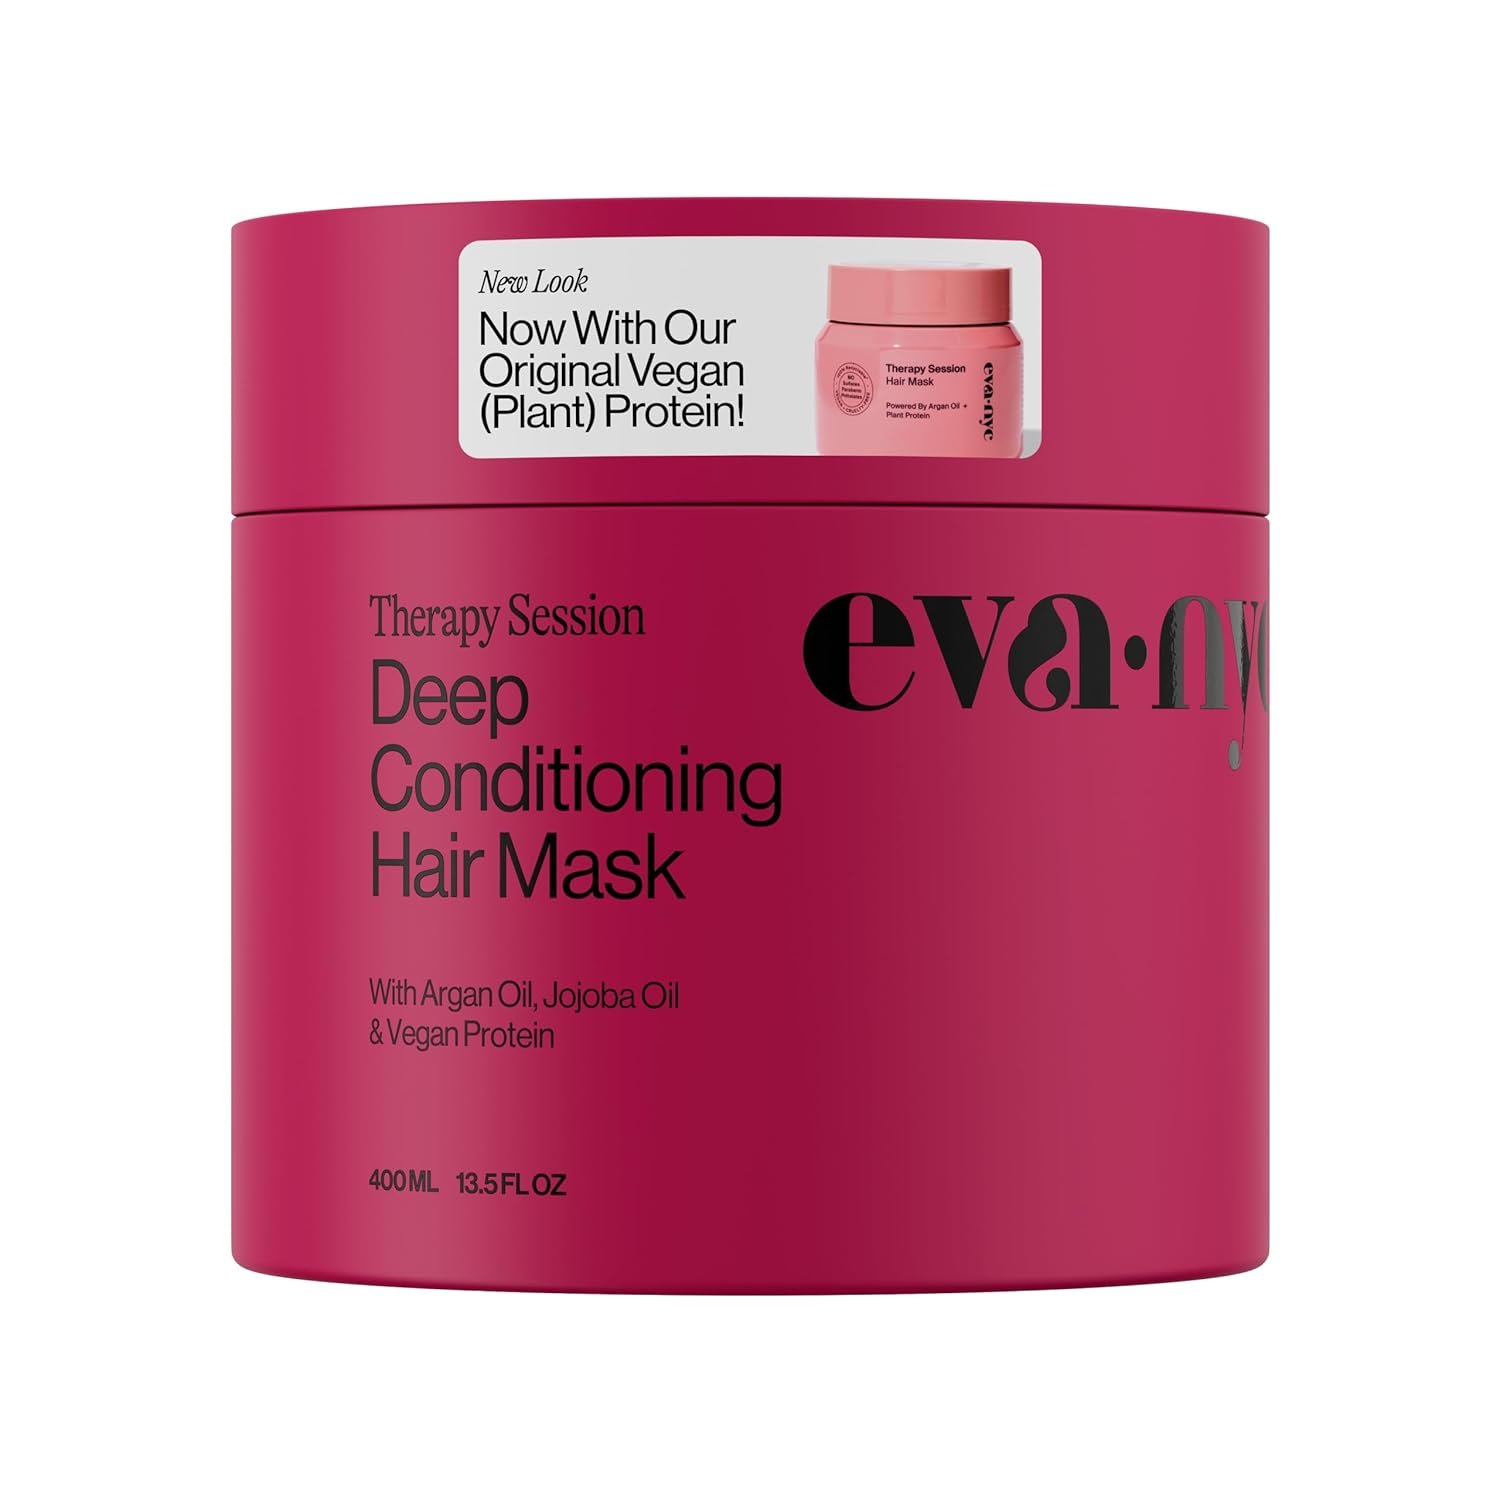
Rinse again and follow with a deep conditioning mask in place of your regular conditioner
This helps your hair feel soft, nourished, and never greasy.
How Often Should You Oil?
How often you should oil isn’t a guessing game — it’s rooted in what dermatology and trichology research tells us about scalp health, sebum production, and hair structure. Your scalp and hair type actually have preferences (science says so!), and getting the timing right can make a huge difference in moisture, strength, buildup, and overall scalp comfort. Here’s how often research says you should be oiling:
Normal/dry hair: 1–2x weekly
Curly/coily: 1–3x weekly (adjust to your pattern)
Oily scalp: every 10–14 days
Evidence:
Dermatologists note that applying oils 1–2x weekly helps reduce dryness and improves moisture retention for dry or damaged hair types
Curly/coily hair tends to be drier because natural oils take longer to travel down the curl pattern.
Regular oiling maintains structure, reduces dryness, and supports elasticity.
Over-oiling oily scalps can cause excess sebum production, buildup, and blocked follicles — so spacing treatments is recommended.
Using oils too frequently on oily scalps can exacerbate greasiness, making less frequent oiling optimal.
Hair porosity, sebum production, and environmental exposure all vary person-to-person, which is why dermatologists emphasize individualized scalp care.
Listen to your hair — it will tell you what it needs.
DIY Hair Oil Recipe (Easy + Customizable)
This blend is beginner-friendly, nourishing, and smells like a cozy spa night.
Base Oils (choose 1–2)
Jojoba: balances scalp oils, lightweight
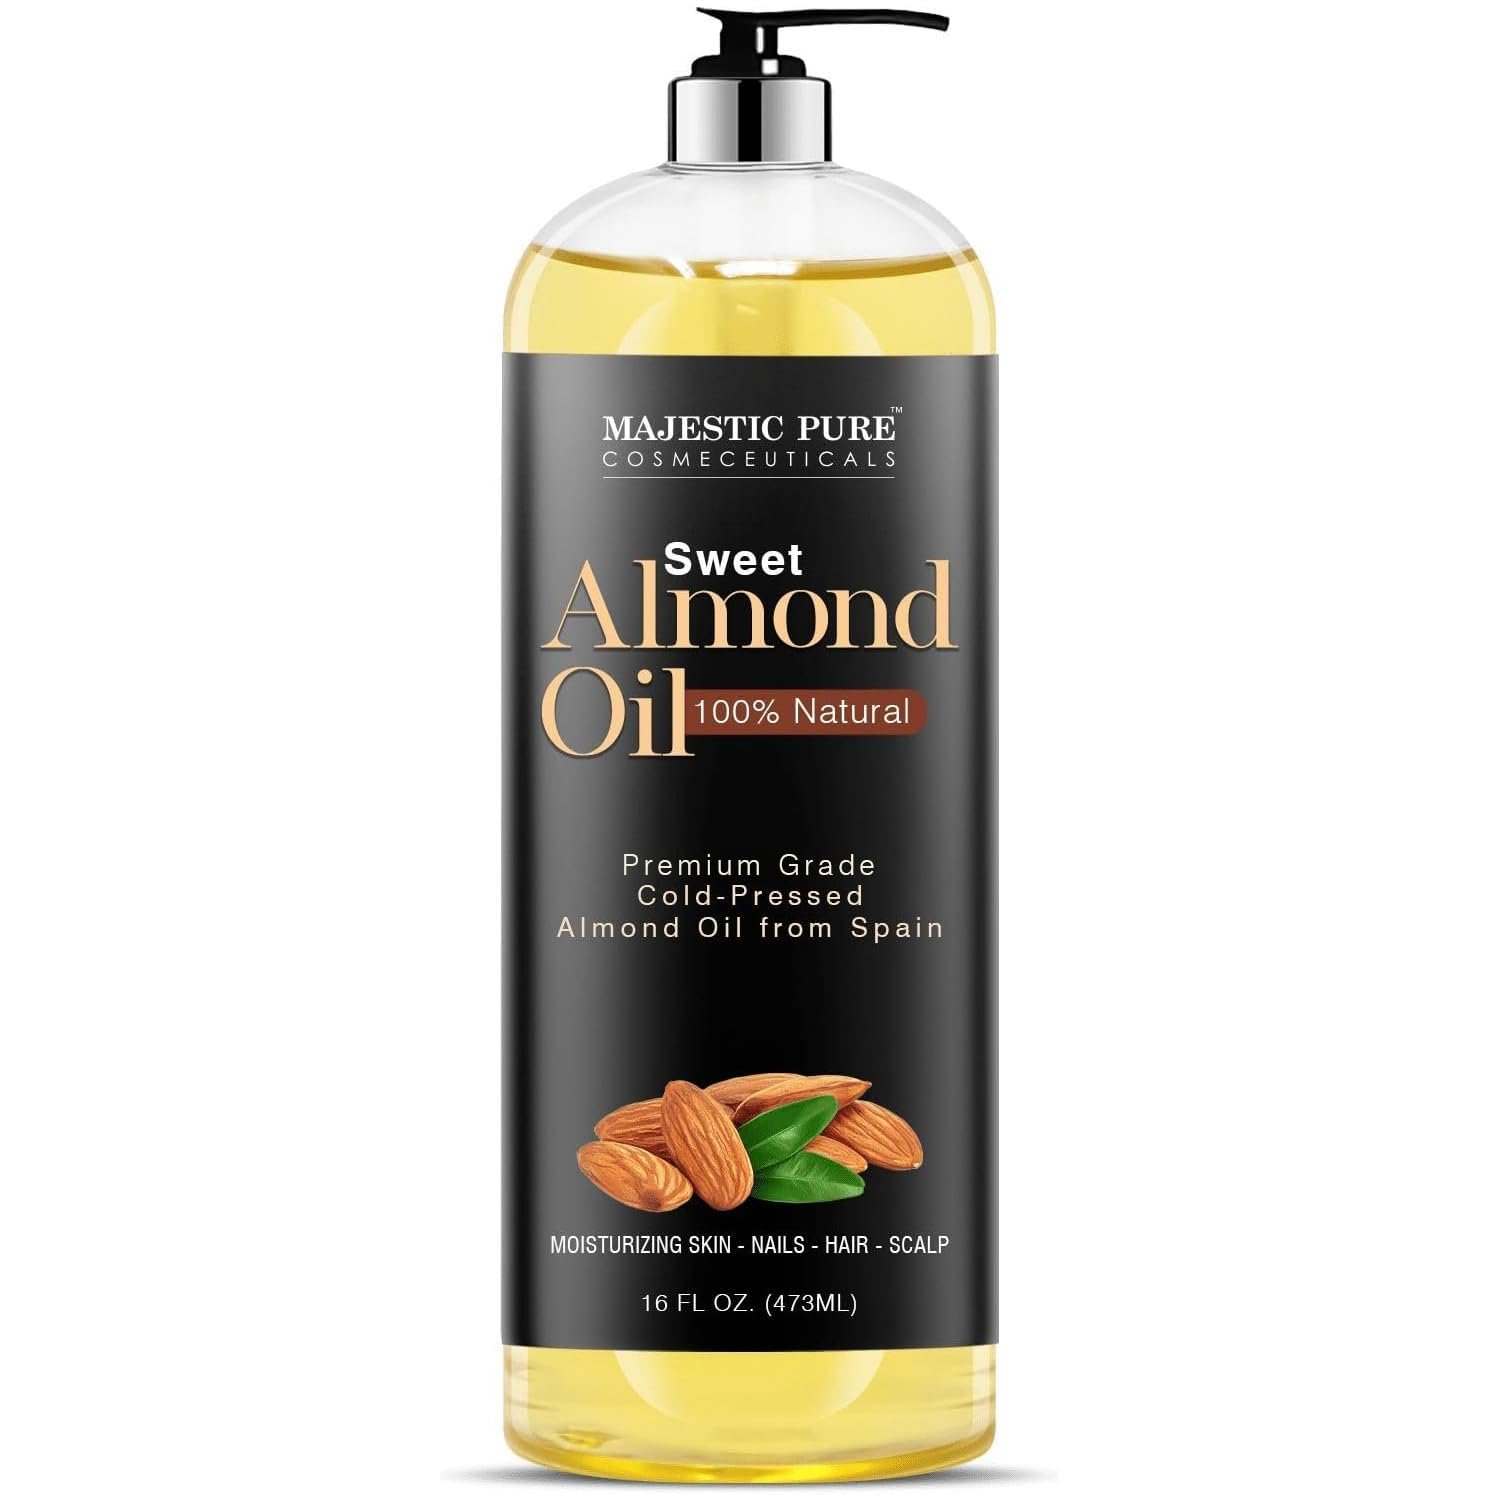
Sweet almond: softens + adds shine
Olive oil: deeply moisturizing
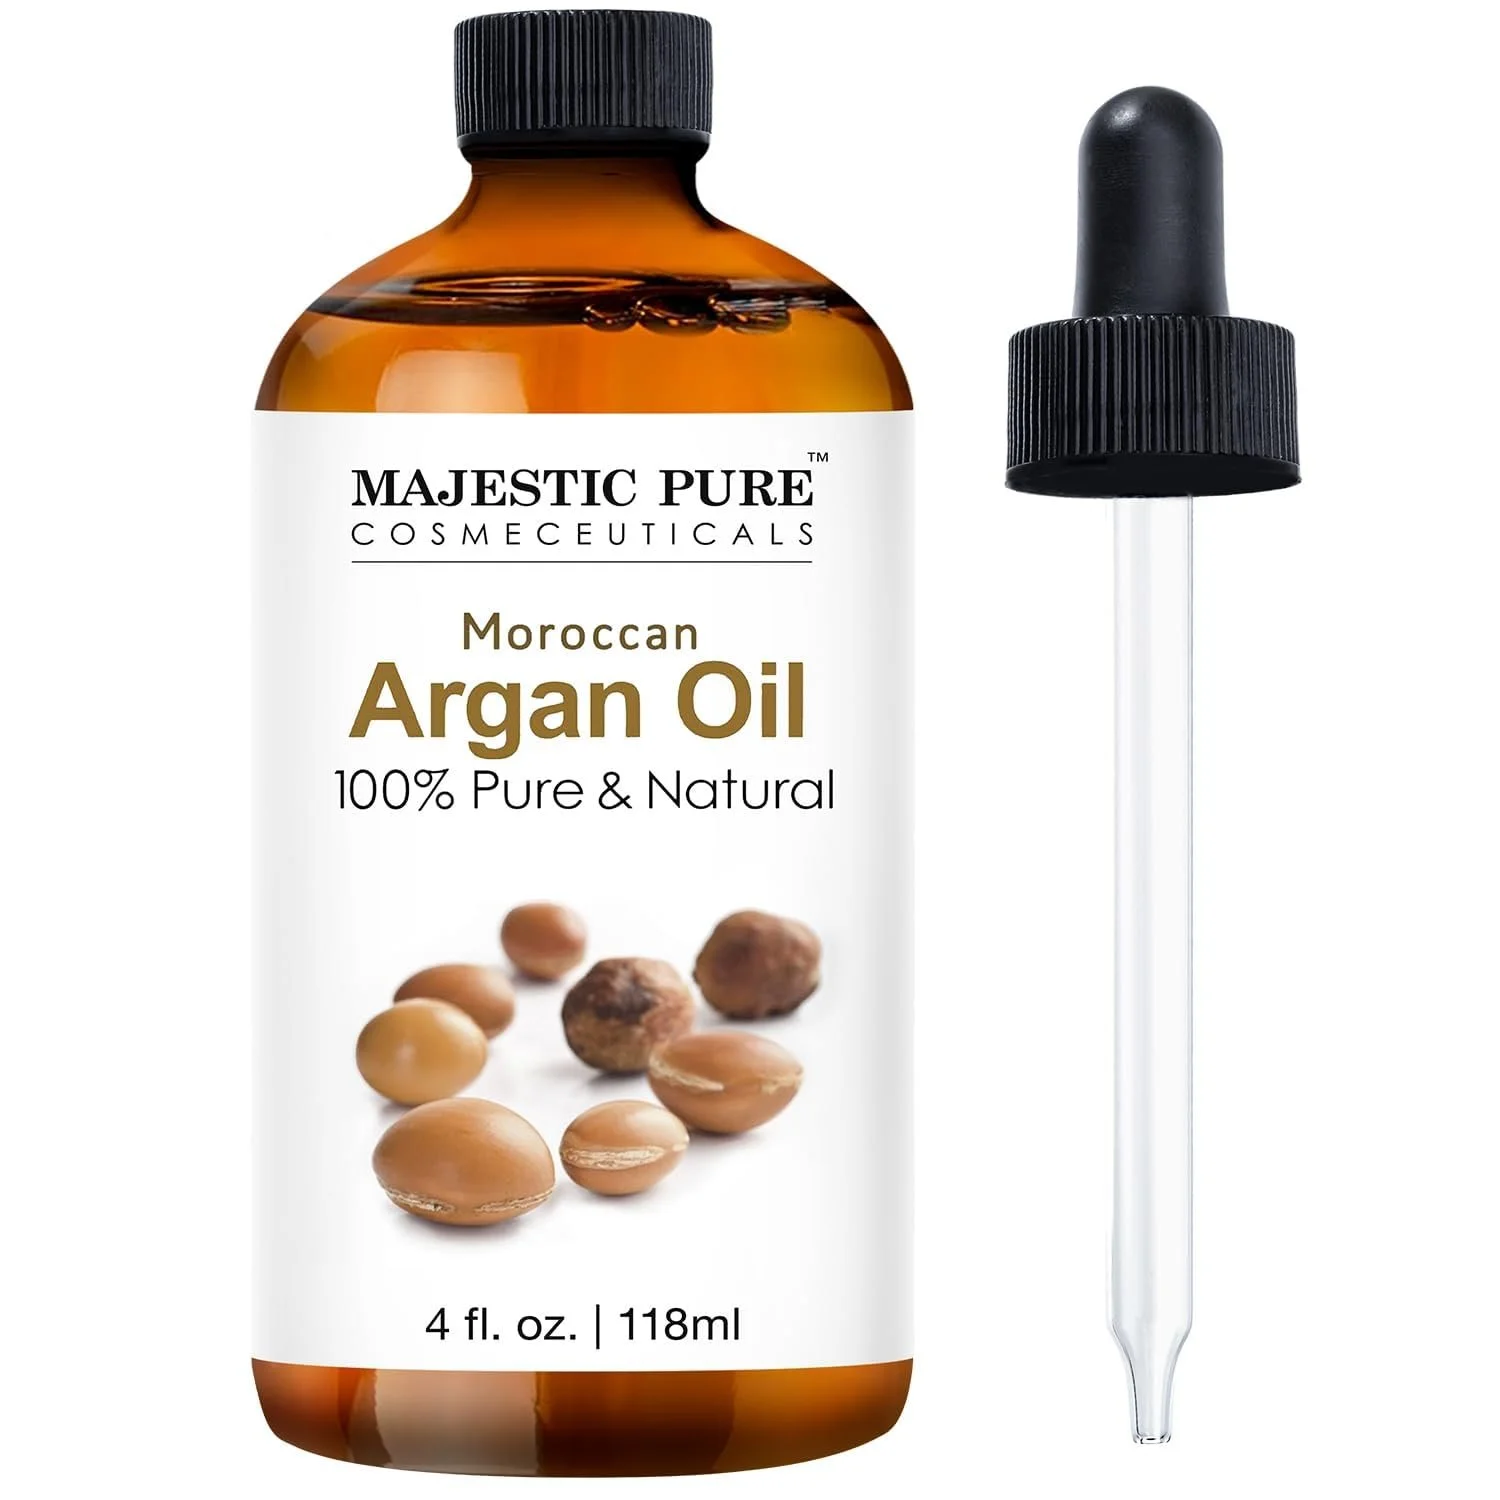
Argan: frizz control + softness
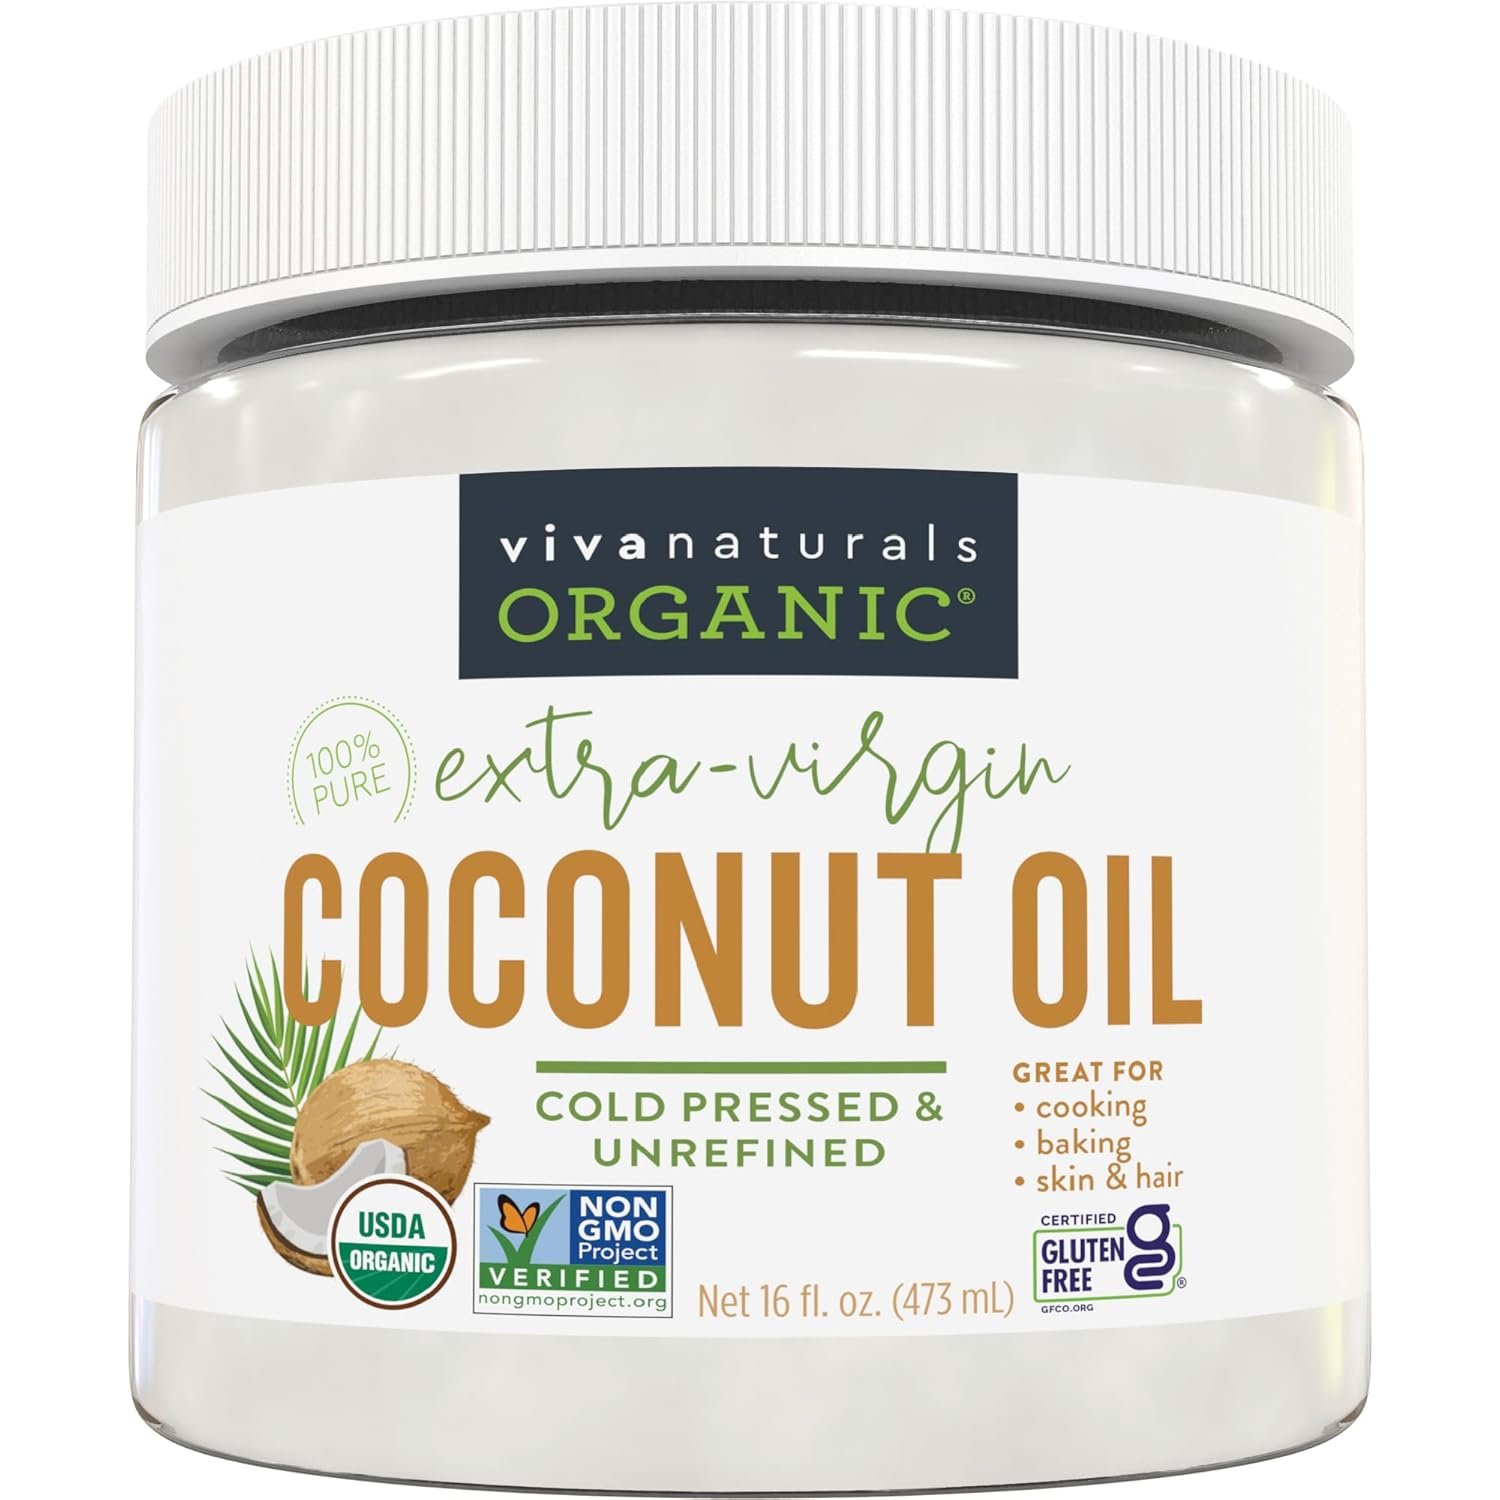
Coconut: strengthens (works best for thick or curly hair)
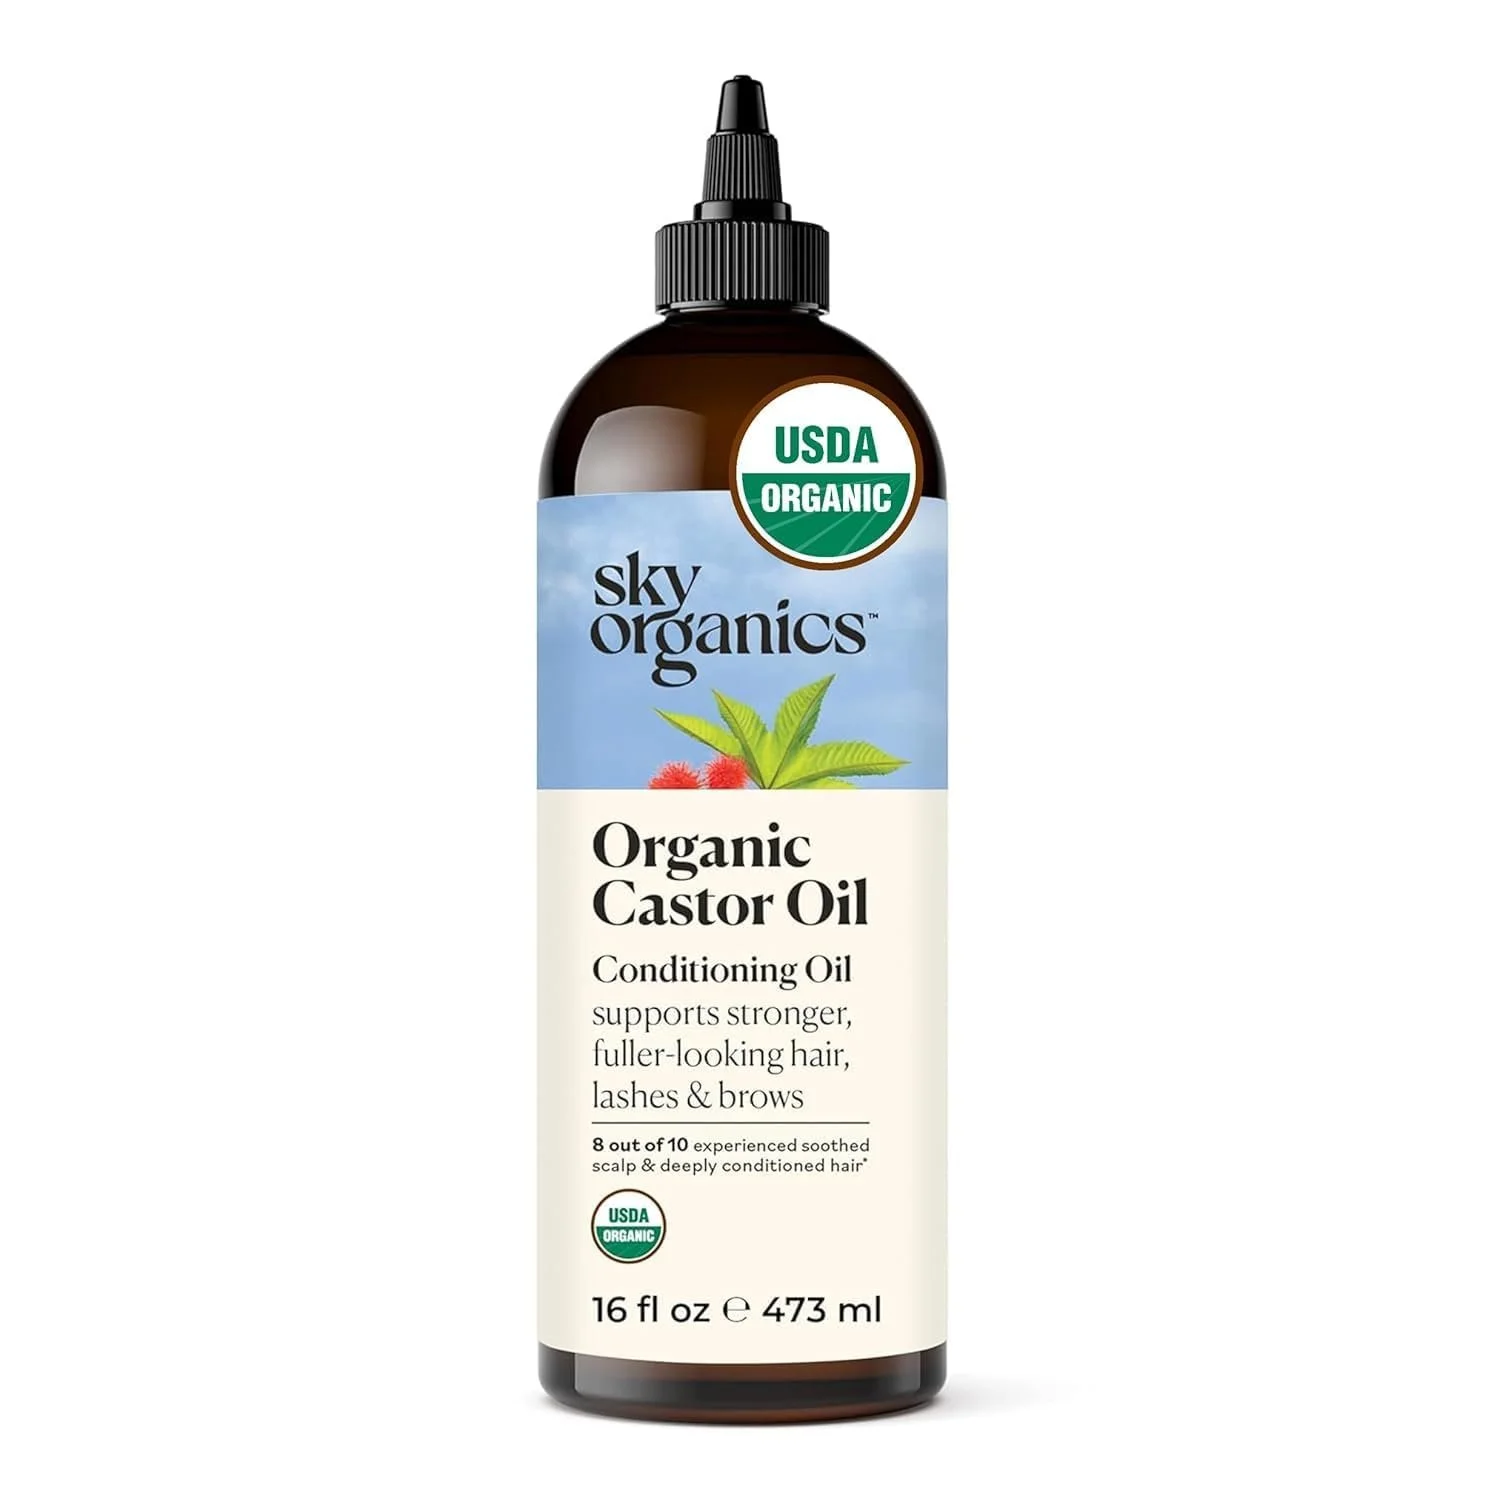
Castor: nourishing and germicidal/fungicidal
→ Use 2–4 tablespoons total.
Add-Ins (optional but amazing)
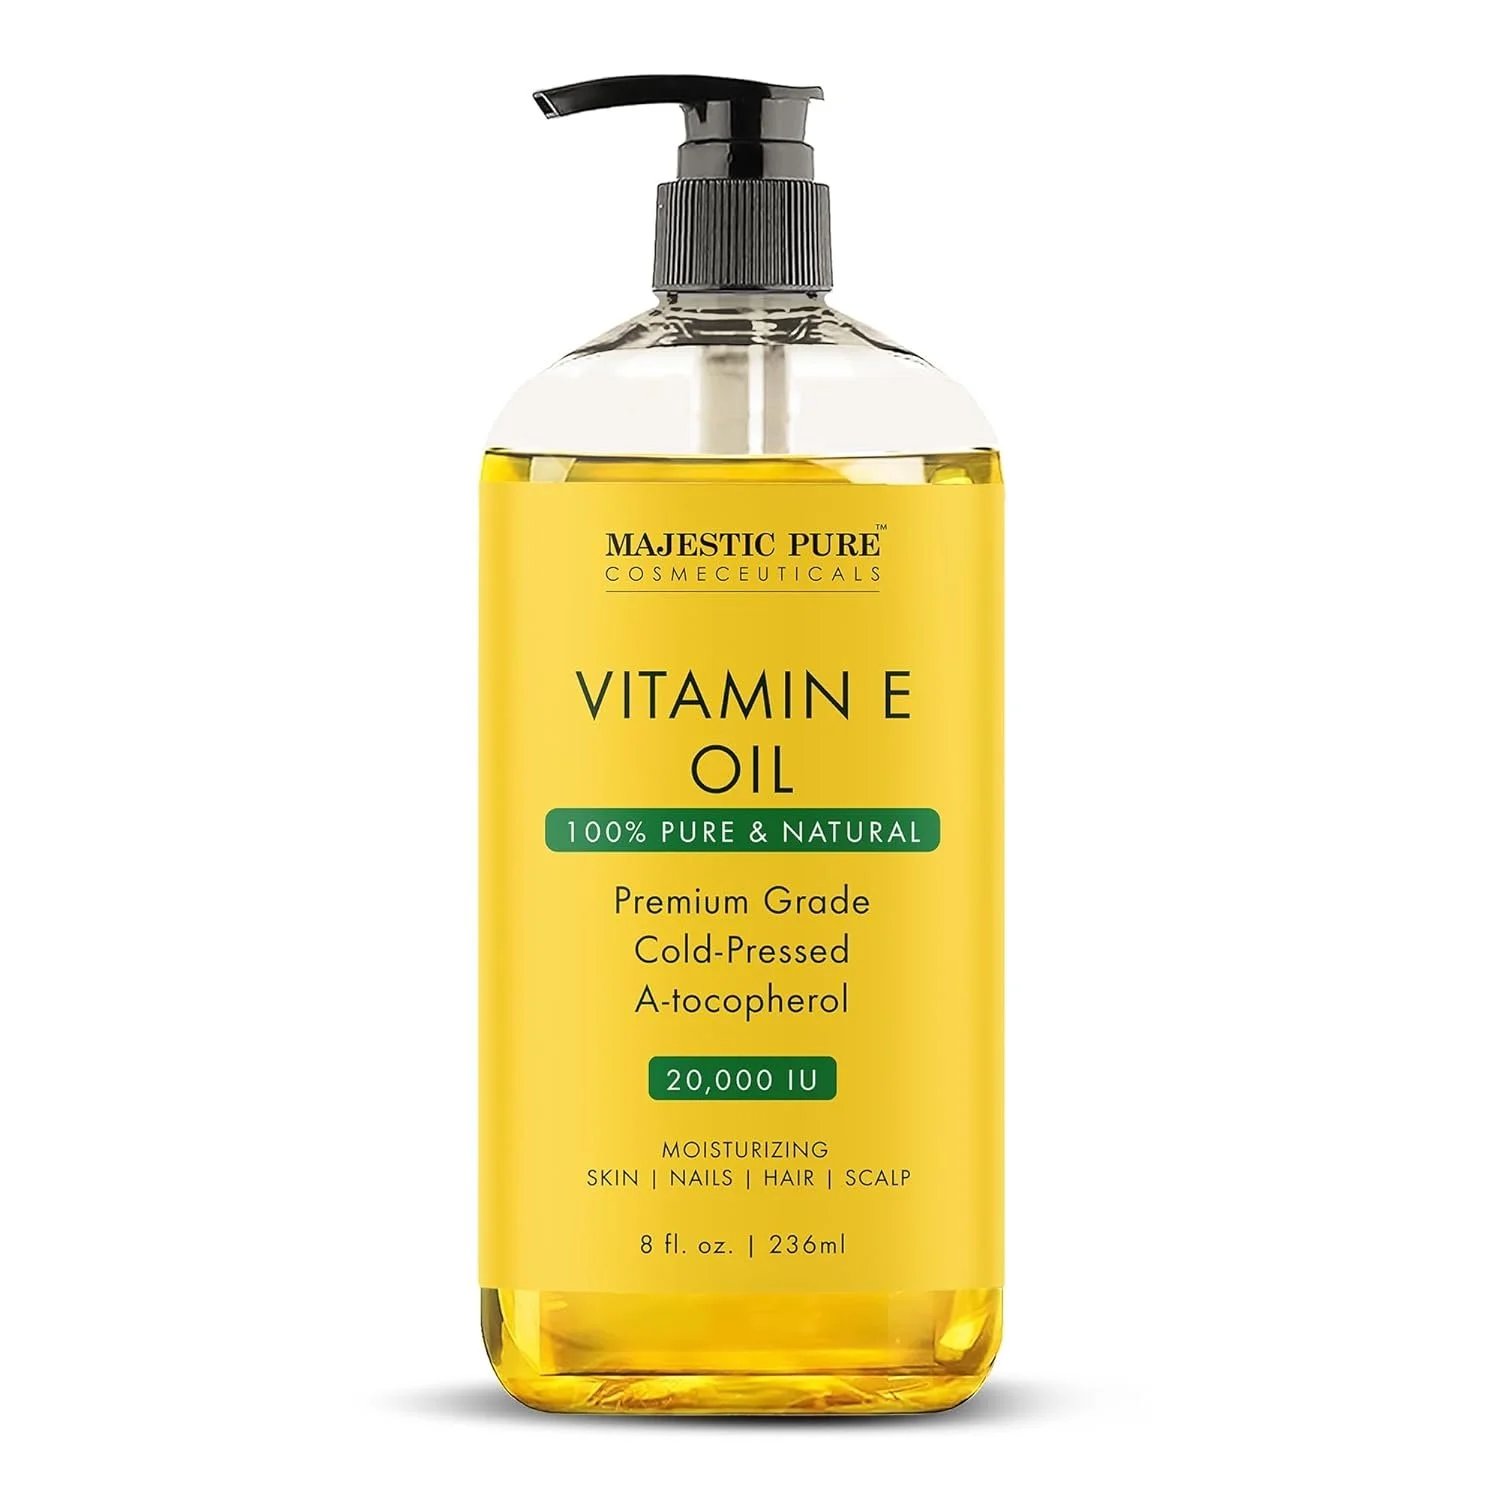
Vitamin E oil: preserves + boosts shine
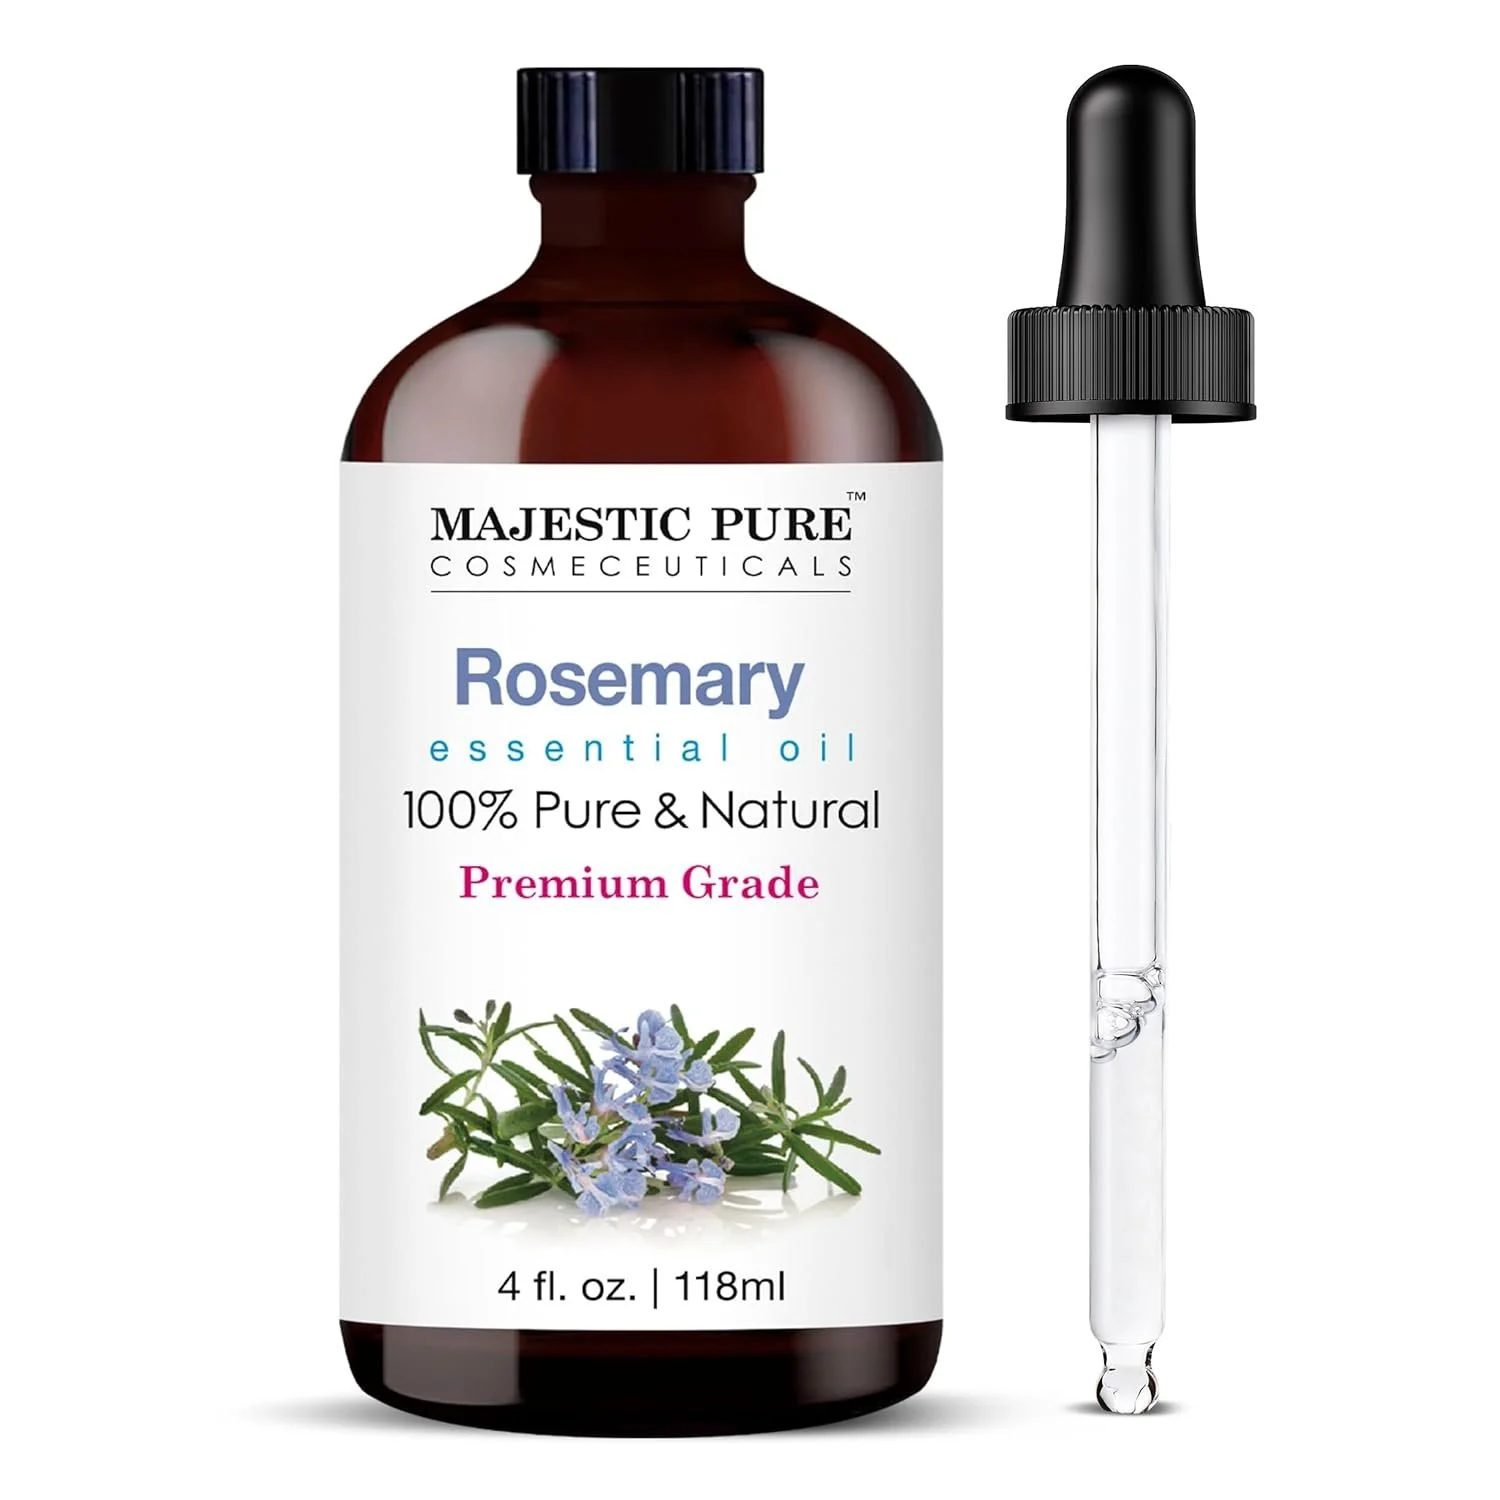
Rosemary essential oil: stimulates growth
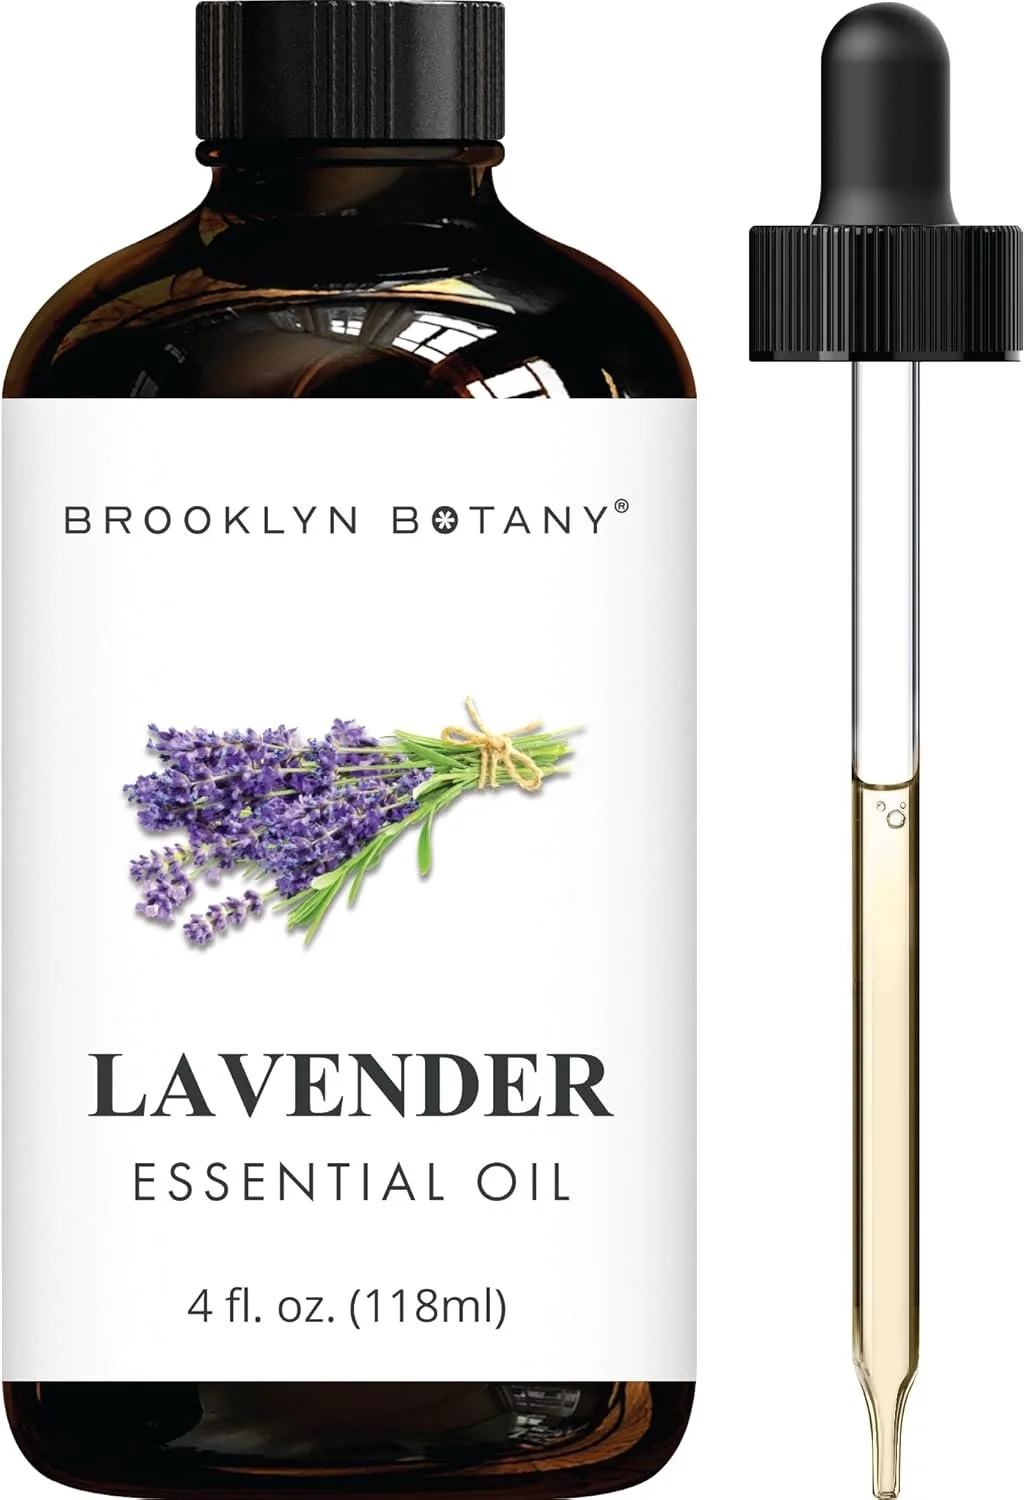
Lavender essential oil: calming, great before be
Peppermint essential oil: Vasodilative; antimicrobial, anti-inflammatory and antifungal properties
→ Essential oils: 2–4 drops each
(Always patch-test if you’re sensitive.)
Instructions
Combine oils in a small glass bottle.
Shake gently.
Store in a cool, dry place.
Warm gently before use (optional but delicious).
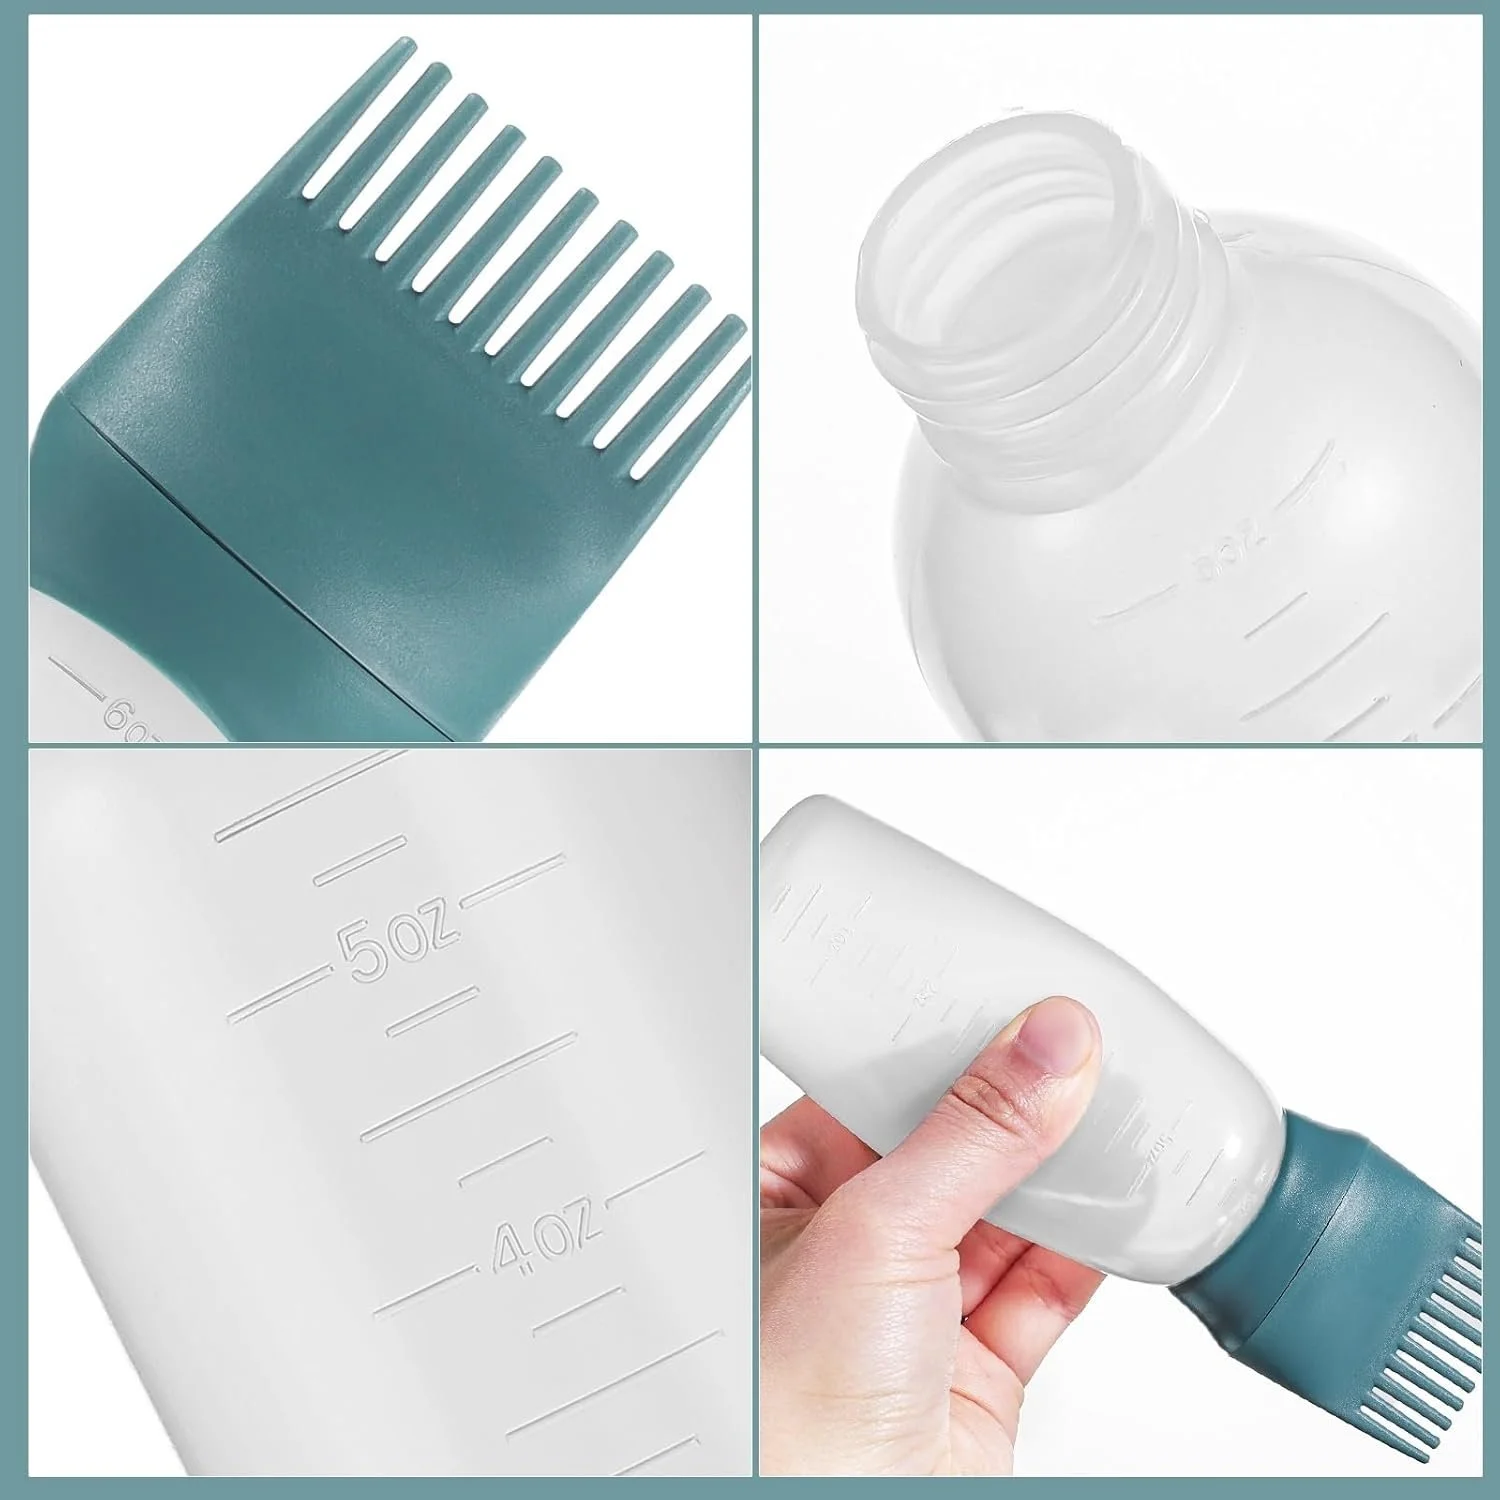
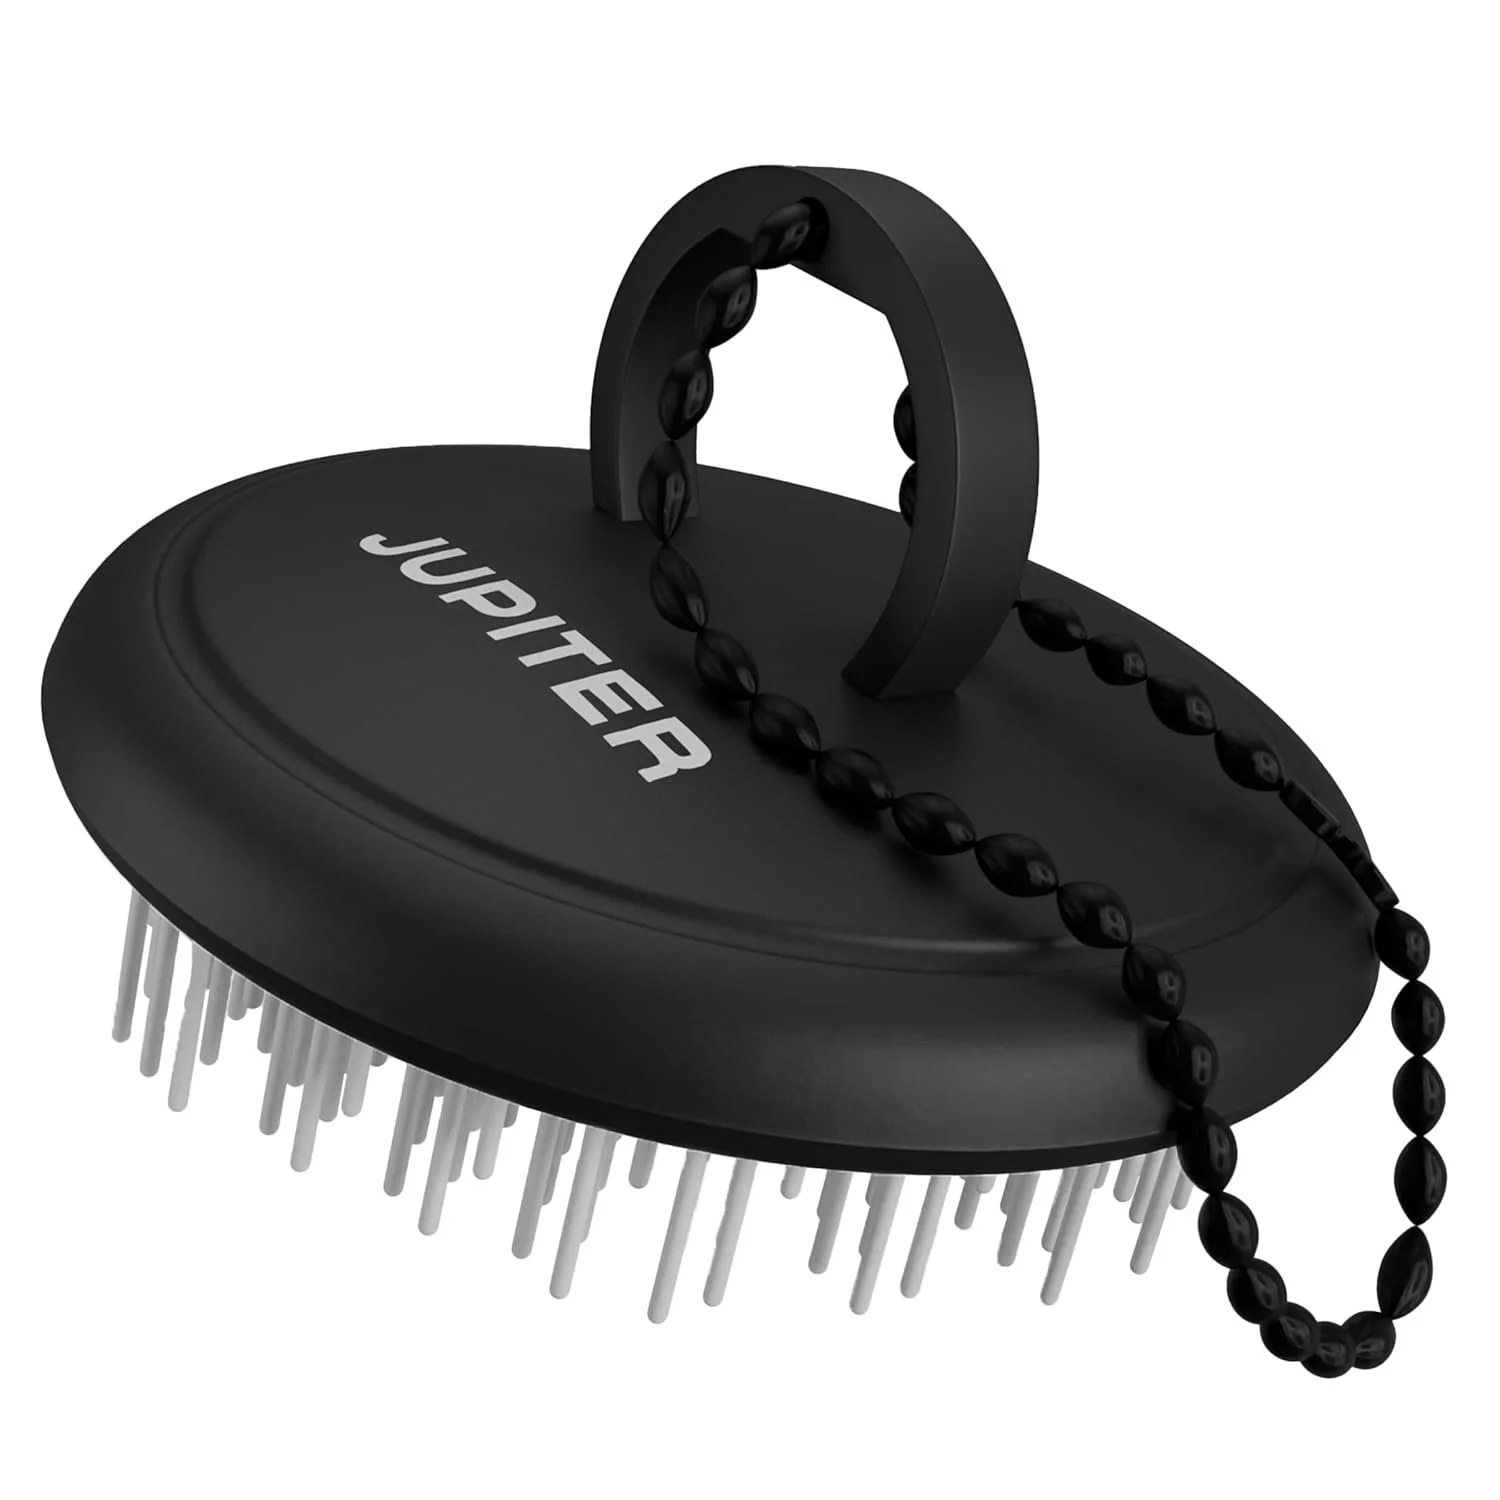
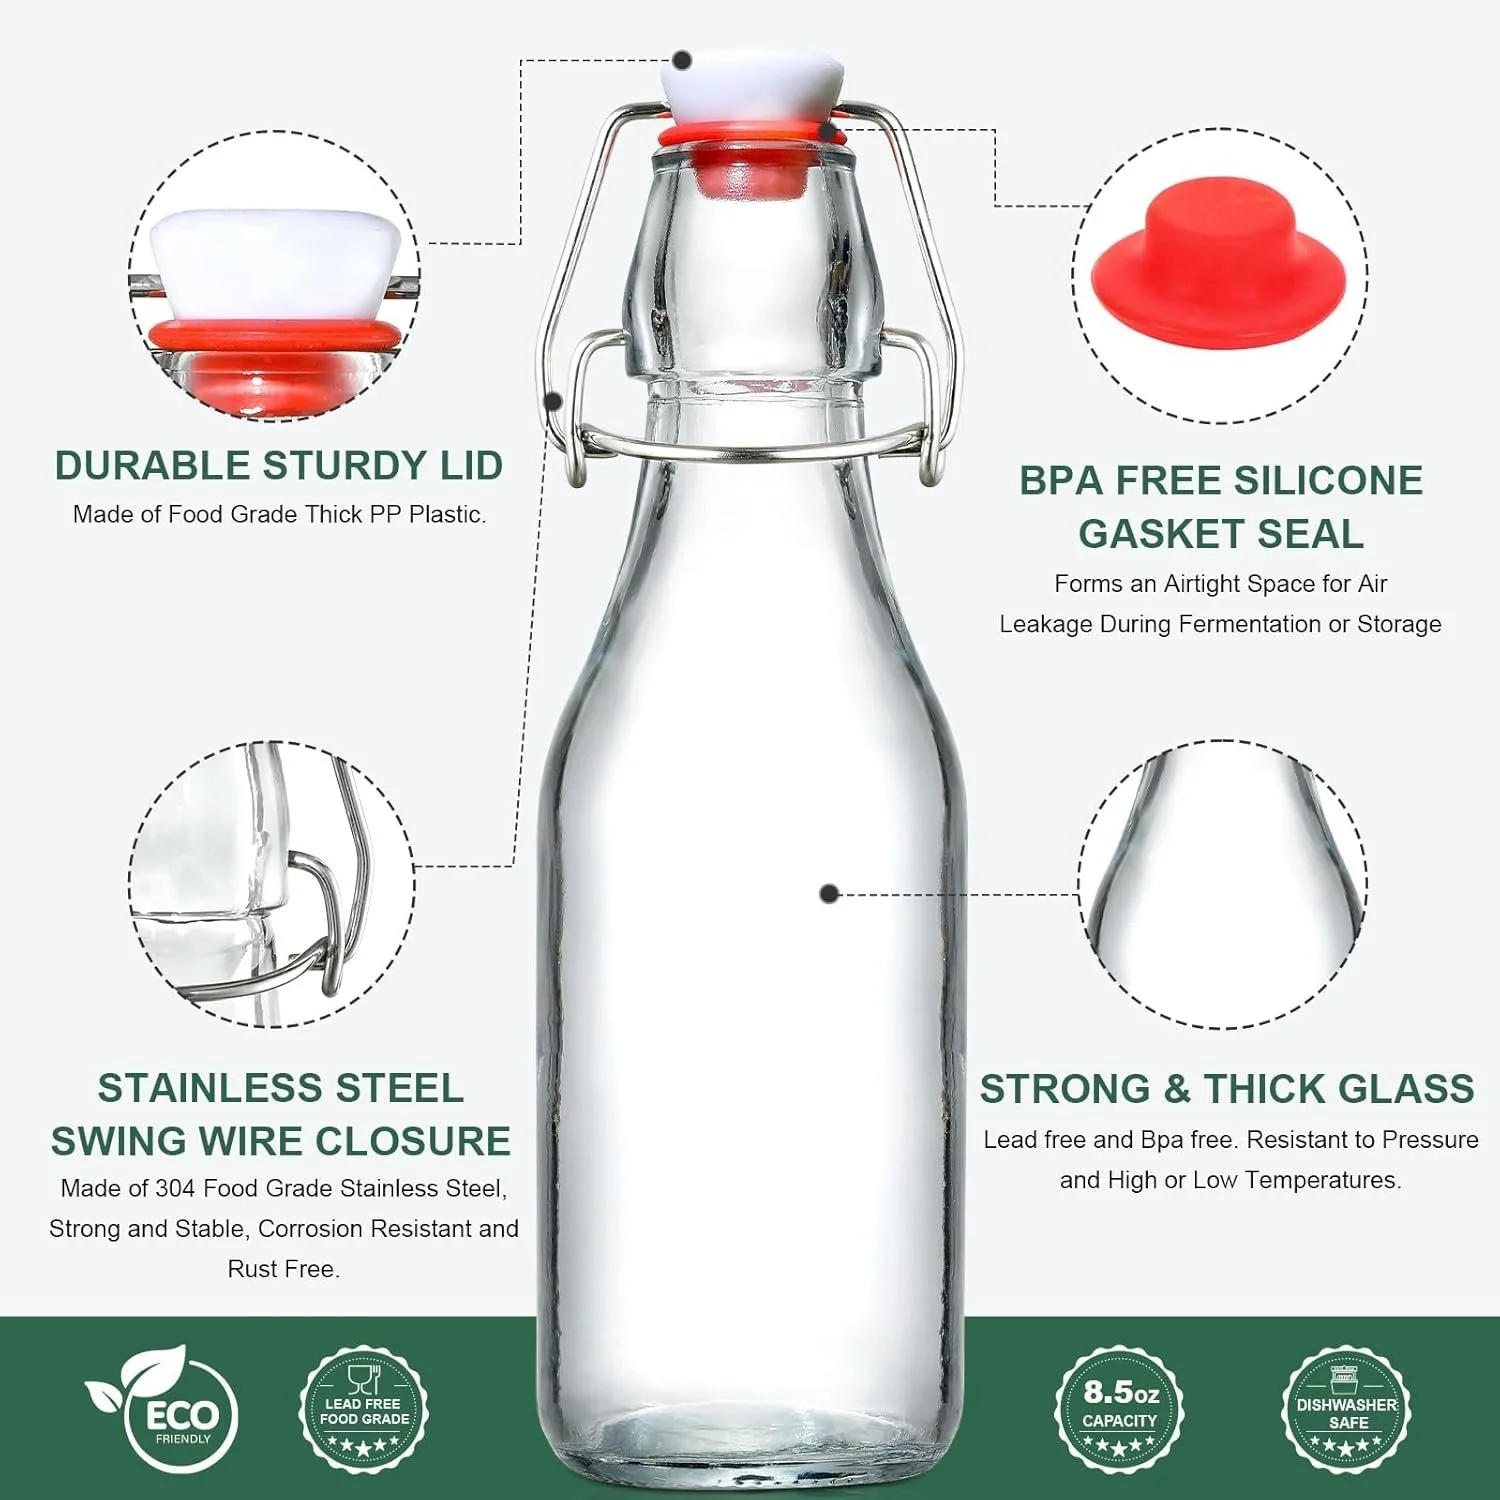
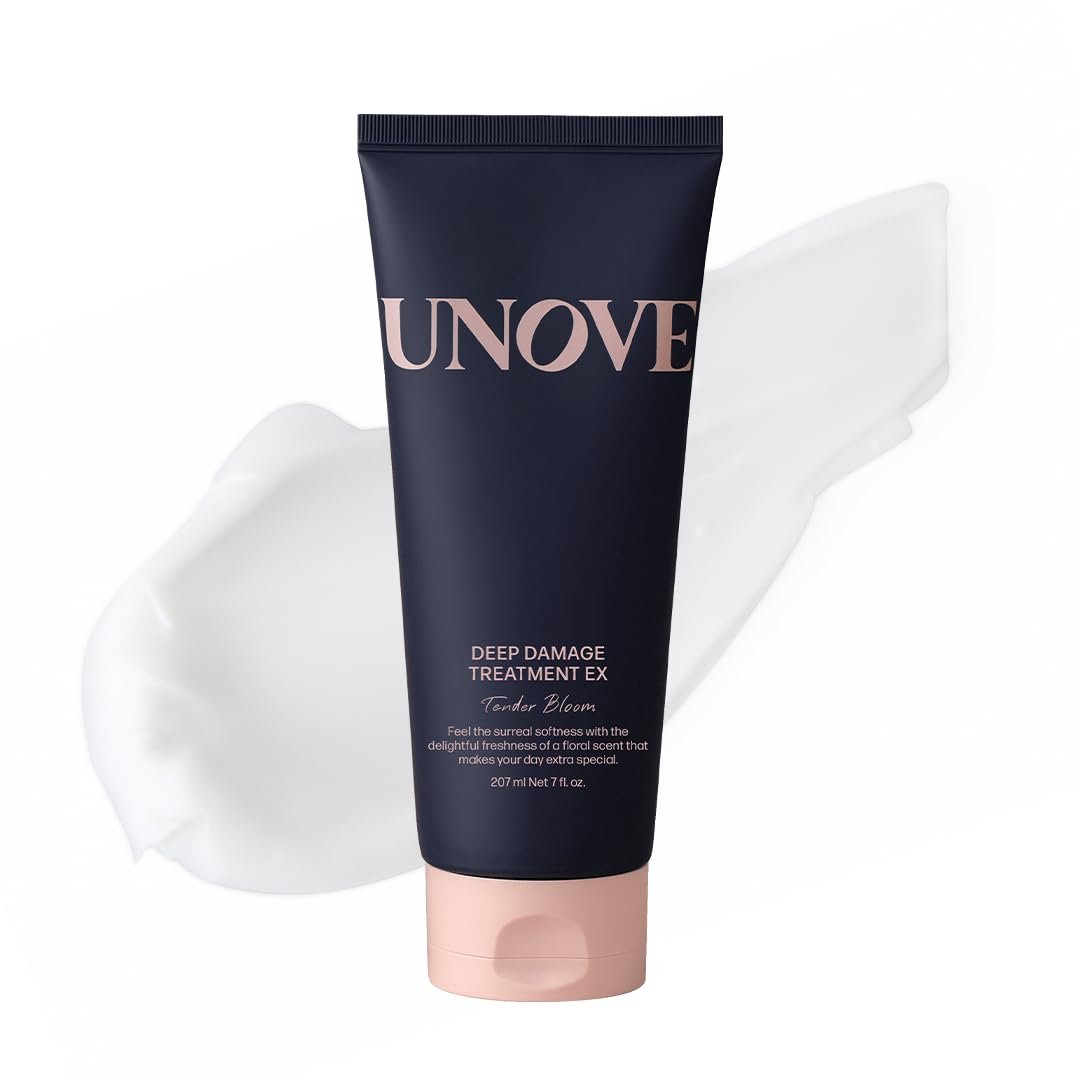
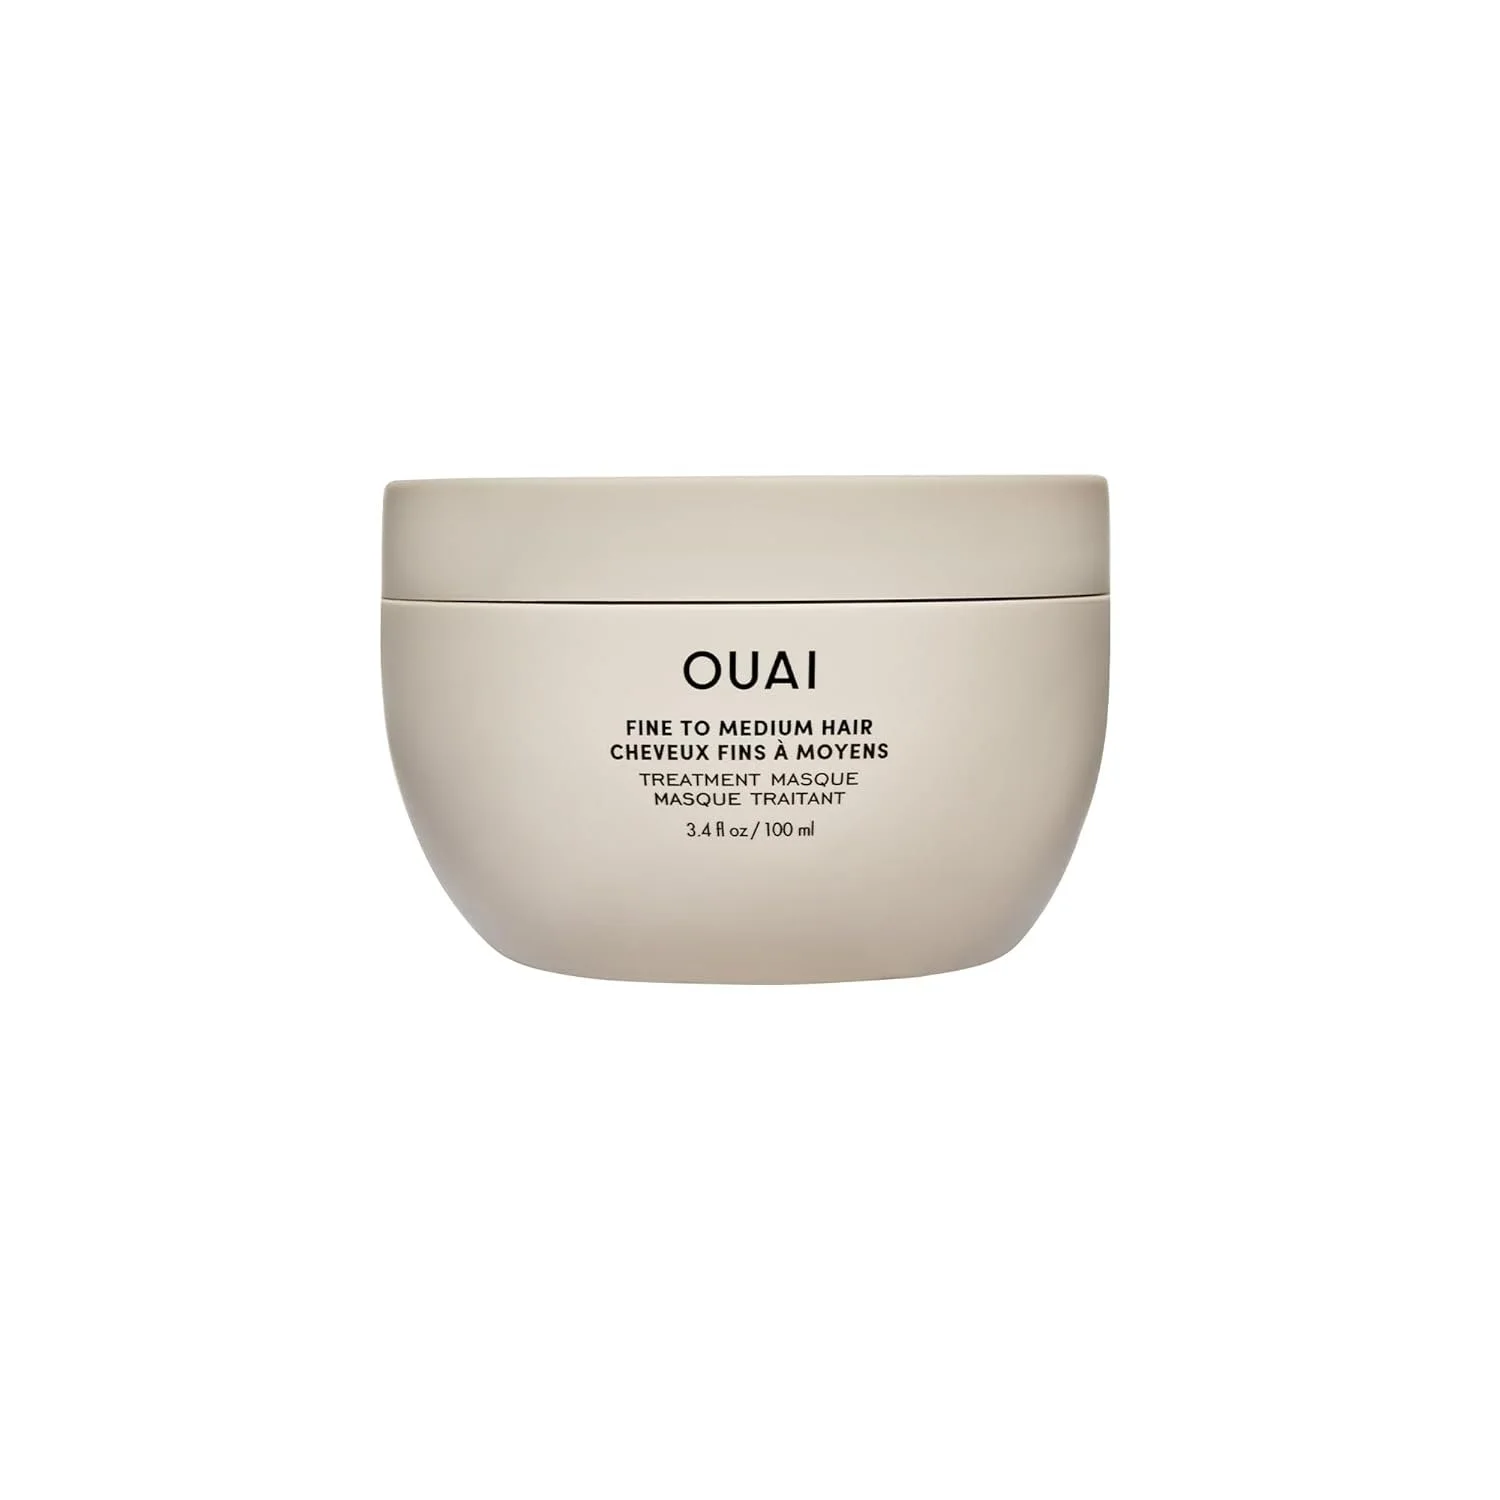
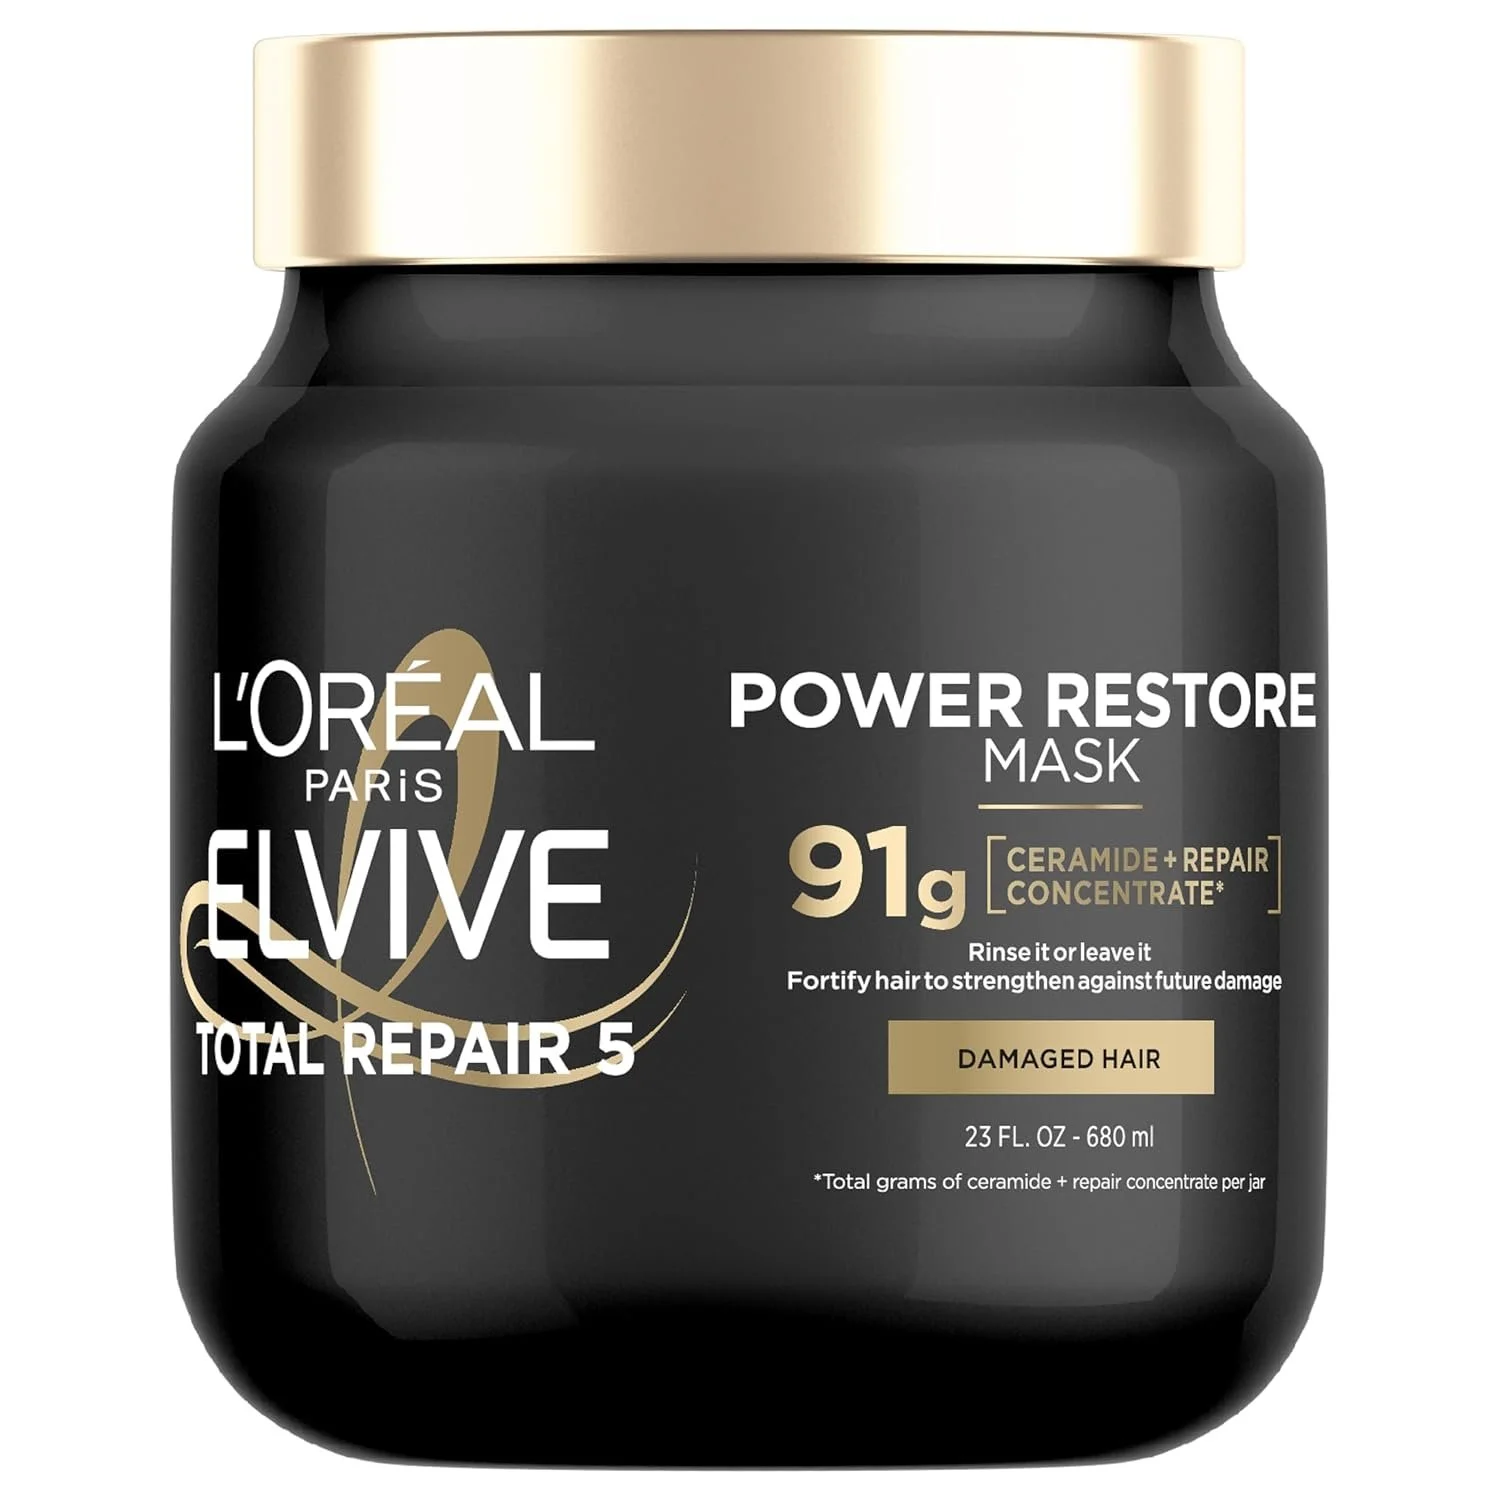
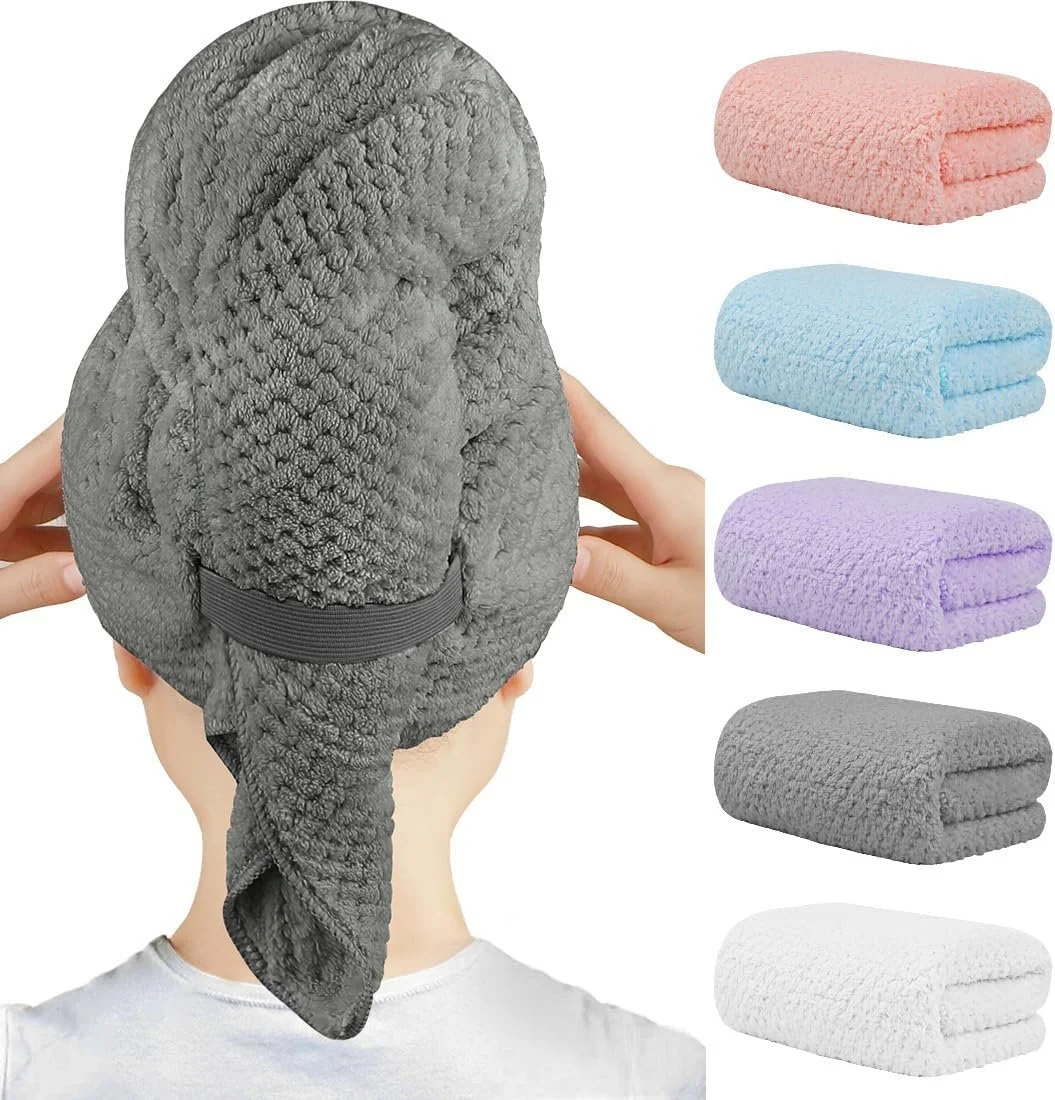
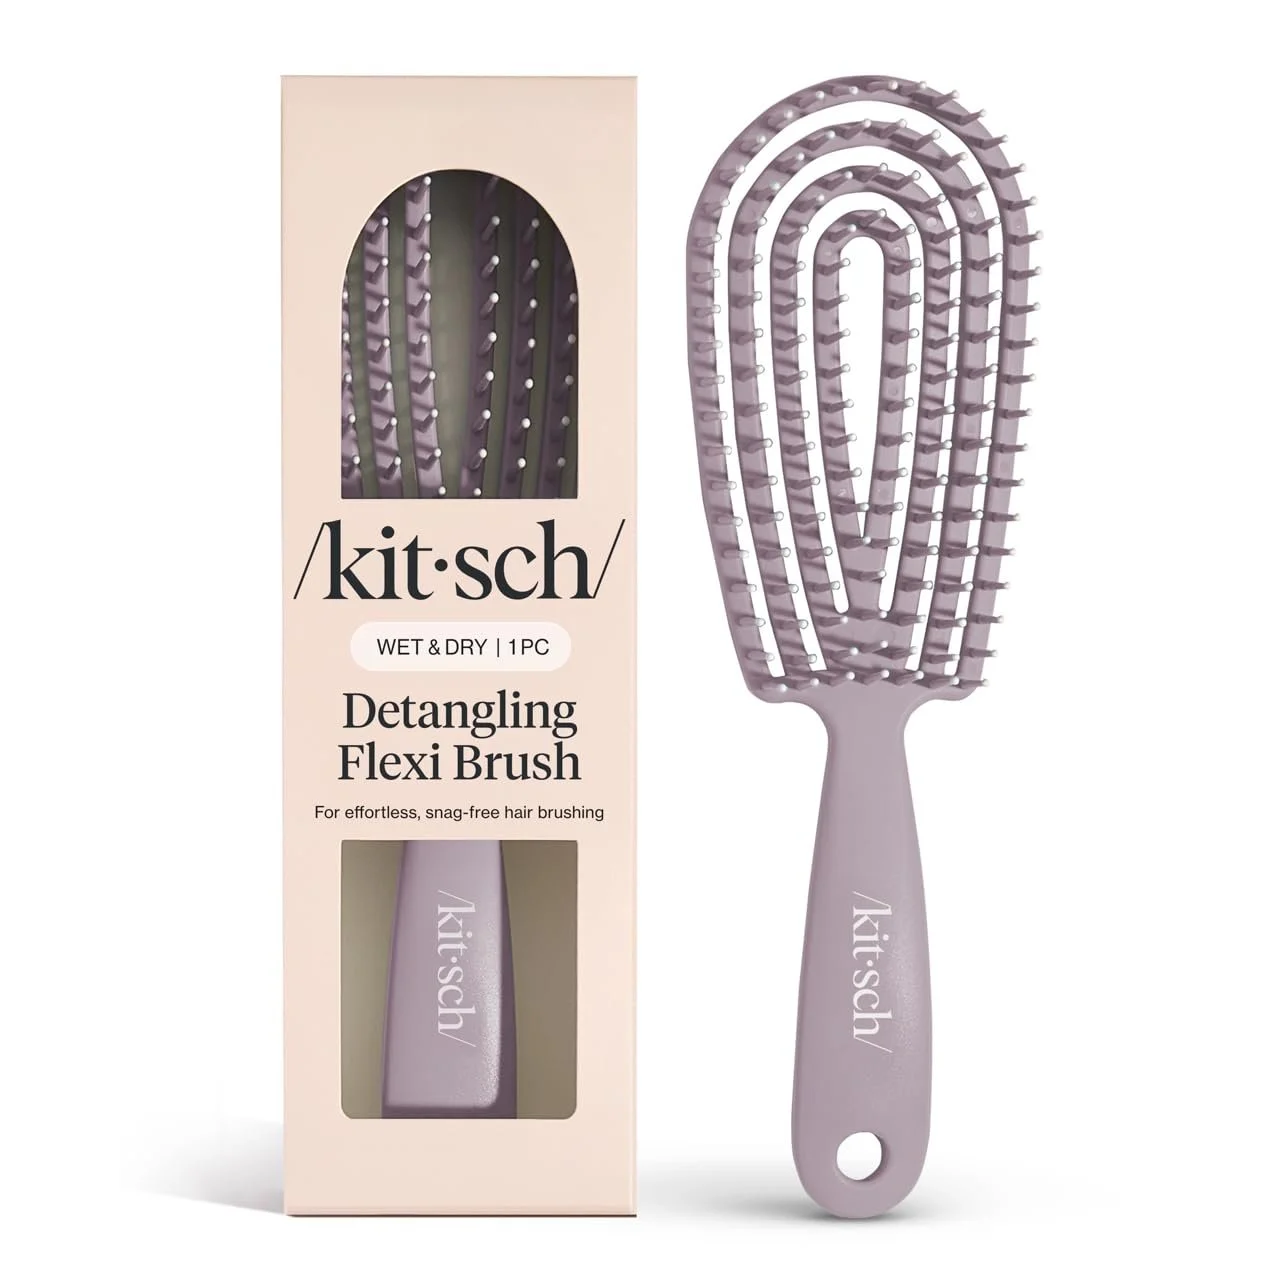
Shop the Staples


Final Thoughts
Hair oiling isn’t just good for your hair — it’s a moment to slow down, breathe, and reconnect with yourself through something soothing and simple.
Your hair gets healthier.
Your mind gets quieter.
Your routine gets a little more sacred.
And that’s the kind of self-care we need more of. 💛